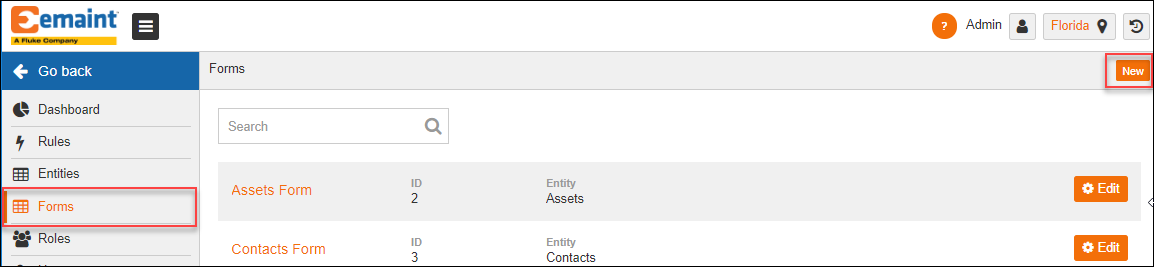
To help you understand form management in X5, we will walk you through the creation of Vehicle form for assets. To start, navigate to Account Settings and select “Forms”.
Once on that screen click on “New”.
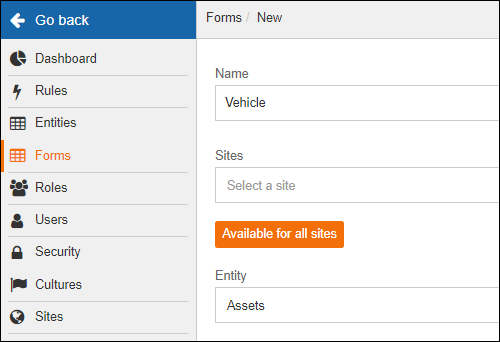
Once the next screen is presented, fill out the following values (Name: Vehicle / Entity: Assets)
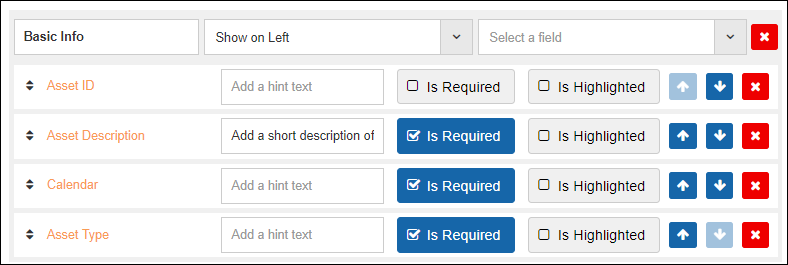
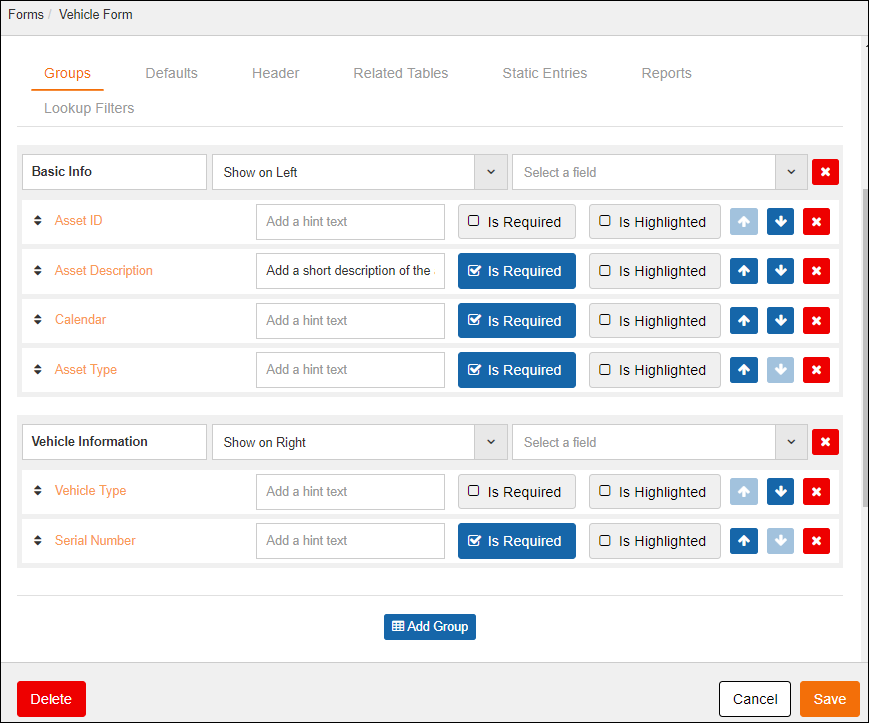
Under the group tab, name your first group “Basic Information”.
From the “Select a field” drop down, search for and add the following fields: Asset ID, Asset Description, Calendar, and Asset Type.
In “Add a hint text” field, next to Asset Description field, add the following text: Please input a short description of the vehicle.
Below the first group tap on the blue “Add Group” and name the second group “Vehicle Information”
Below the first group tap on the blue “Add Group” and name the second group “Vehicle Information”
Click on the “Show on Left” drop down next to Vehicle Information and change the value to “Show on Right”.
From the “Select a field” drop down search for and add the following fields:
Vehicle Type
Serial Number
Don’t forget to click on the “Save” button in the lower right-hand corner.
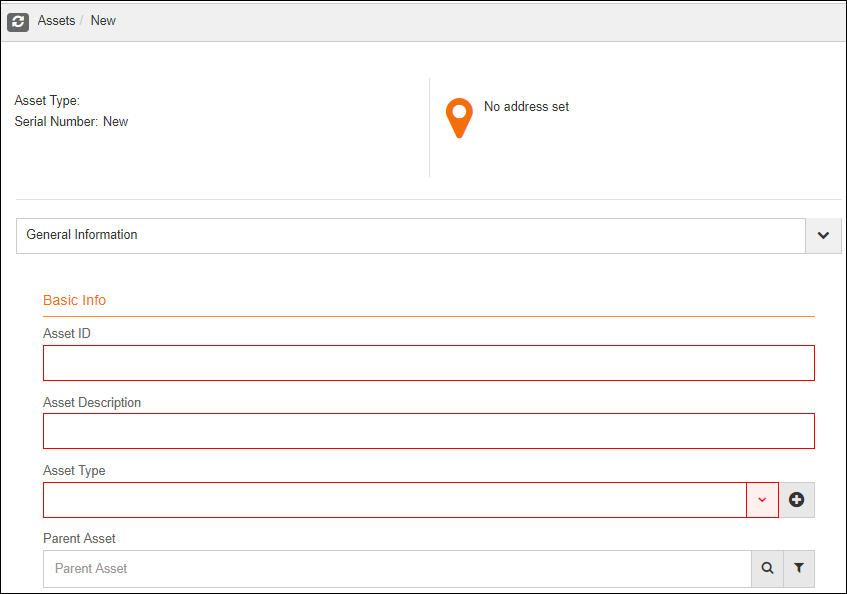
To view and utilize the new form, tap the “Go back” button to return to exit the account settings screen, then Navigate to the Assets list, Select “New”, then “Vehicle Form”.
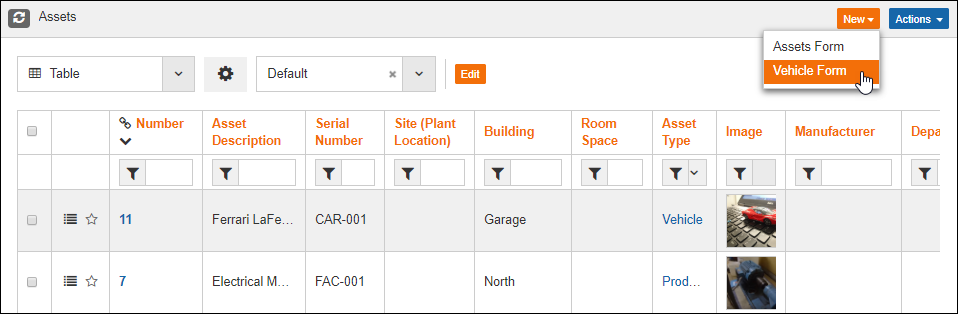
Fill out the required information and save the record.