This feature allows accounts utilizing multiple inventory locations to designate specific locations to each user. Doing so will limit those users to only being able to perform inventory transactions (charges, adjustments and purchasing) to the inventory locations assigned to him/her. This feature requires the account Administrator to set it up.
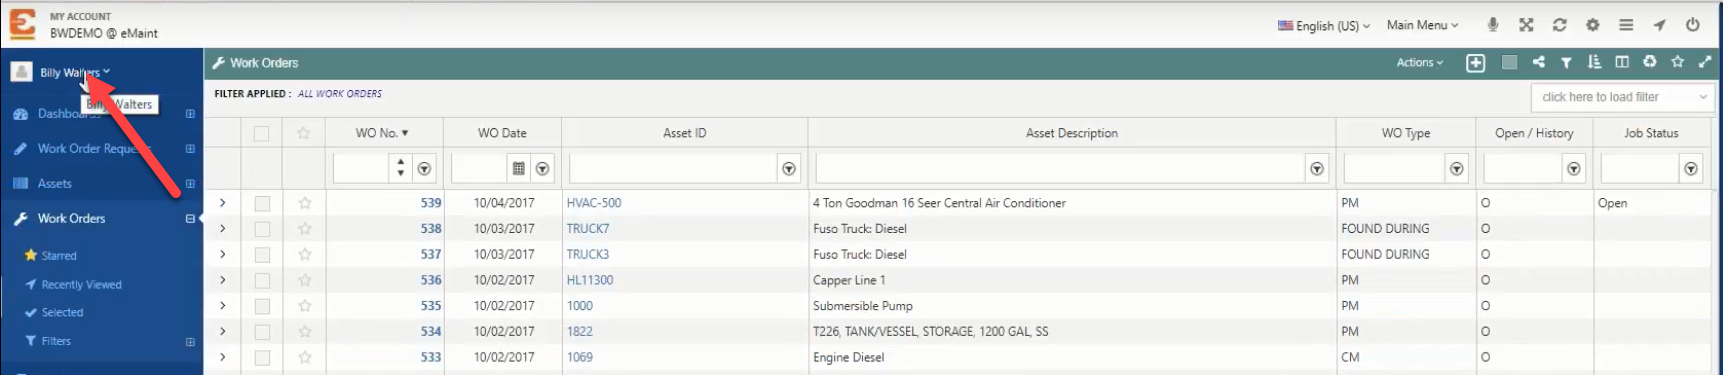
The first step is to click on the account name.
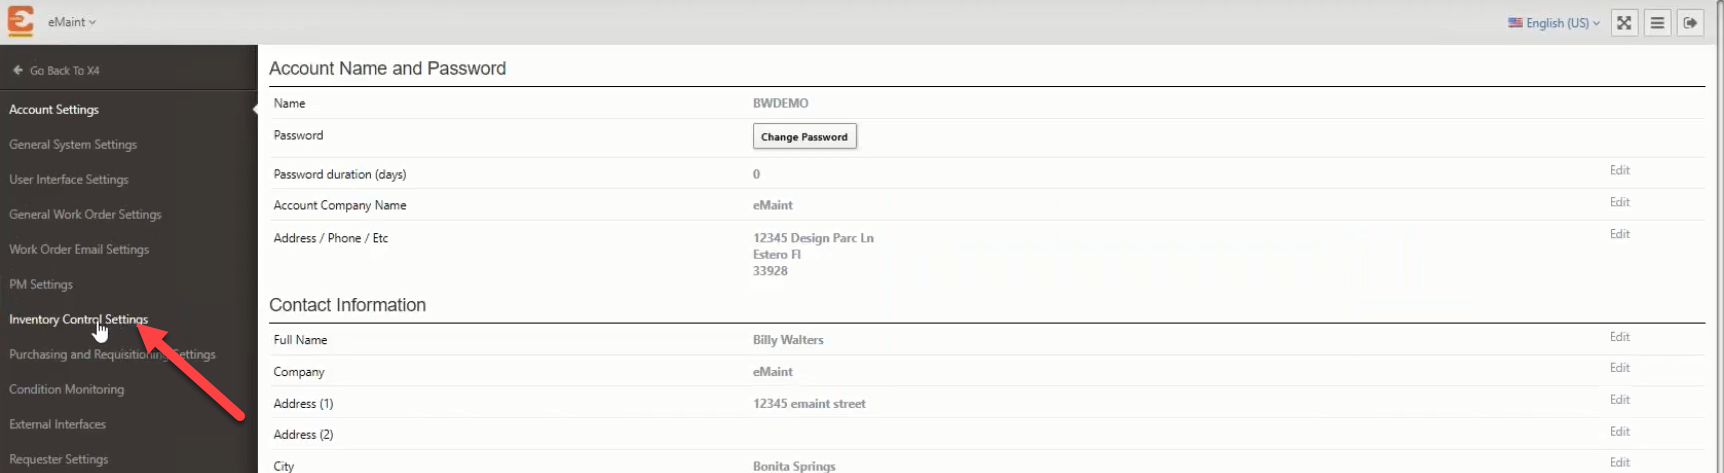
Next, go to the tile named Account Settings and click on that tile.

Once you have accessed your account settings scroll down the items list on the left and click on the item Inventory Control Settings.
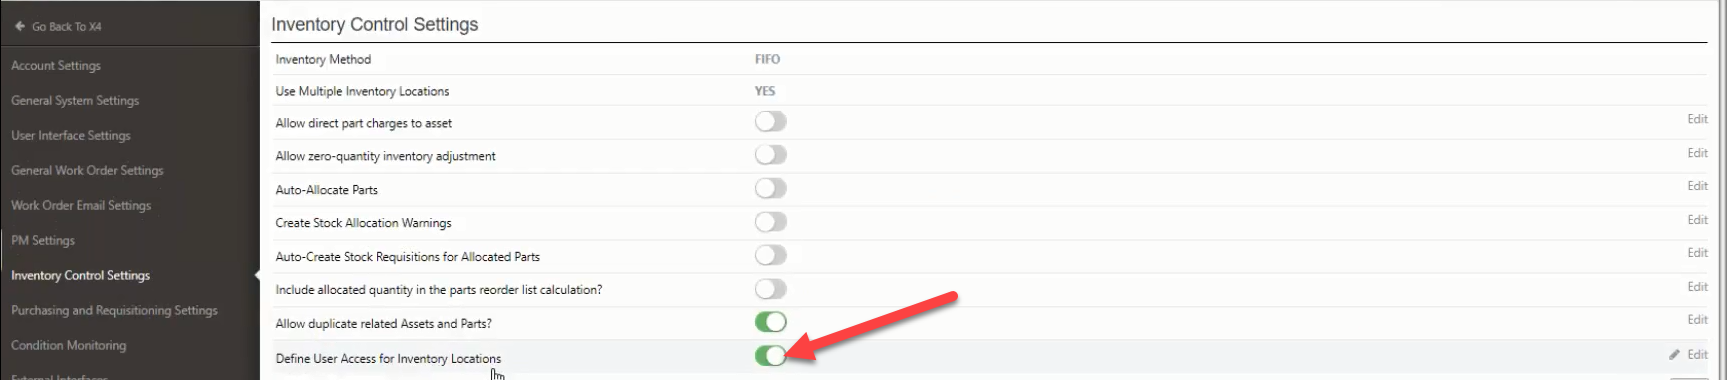
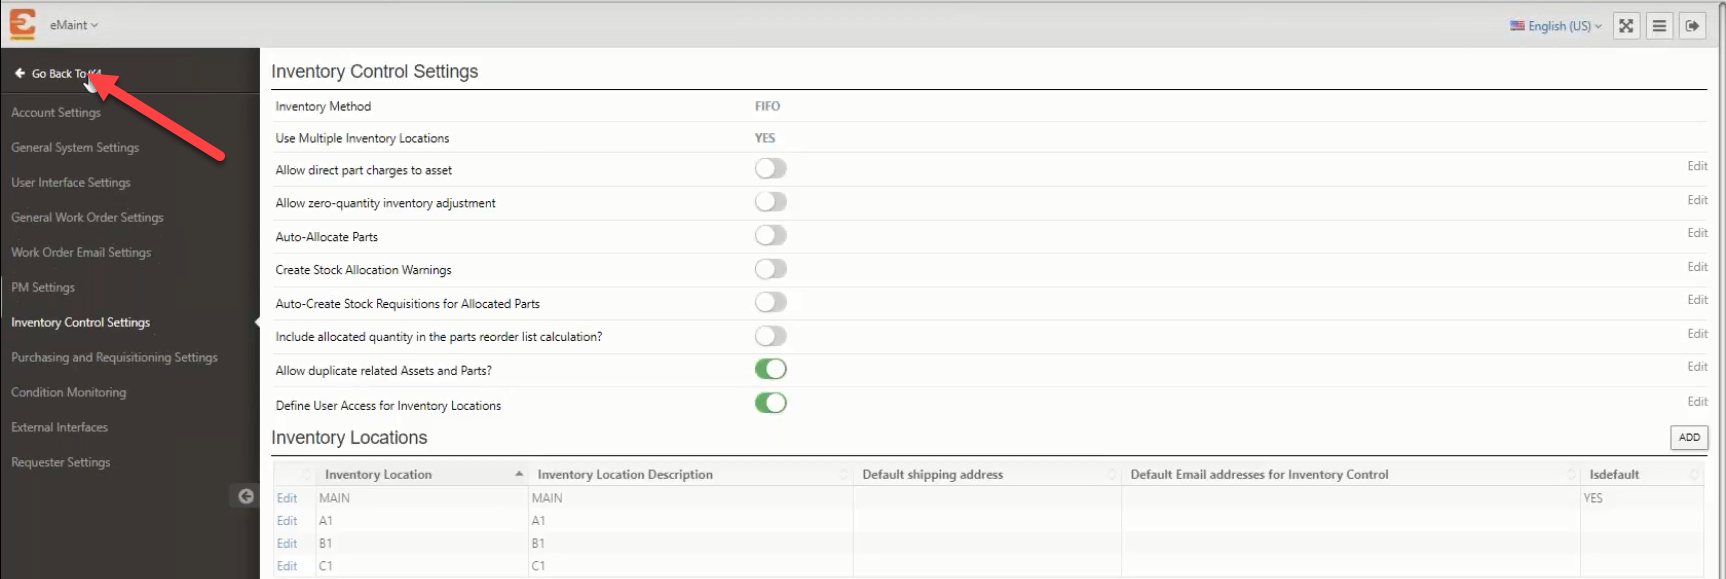
At the bottom of your Inventory Control Settings list is the option to “Define User Access for Inventory Location”. By default this is turned off so click on the edit button to the far right of the text and then toggle the on/off button by left clicking with your mouse. Once it turns green, which indicates it is in the “on” position, save the changes to continue.
After the feature has been turned on, as seen in the image above, another section to the Inventory Control Settings will appear titled “Inventory Locations”. Click on the “add” button at the top right of the new section and then the edit button on the left side of the new section window to add the inventory locations.
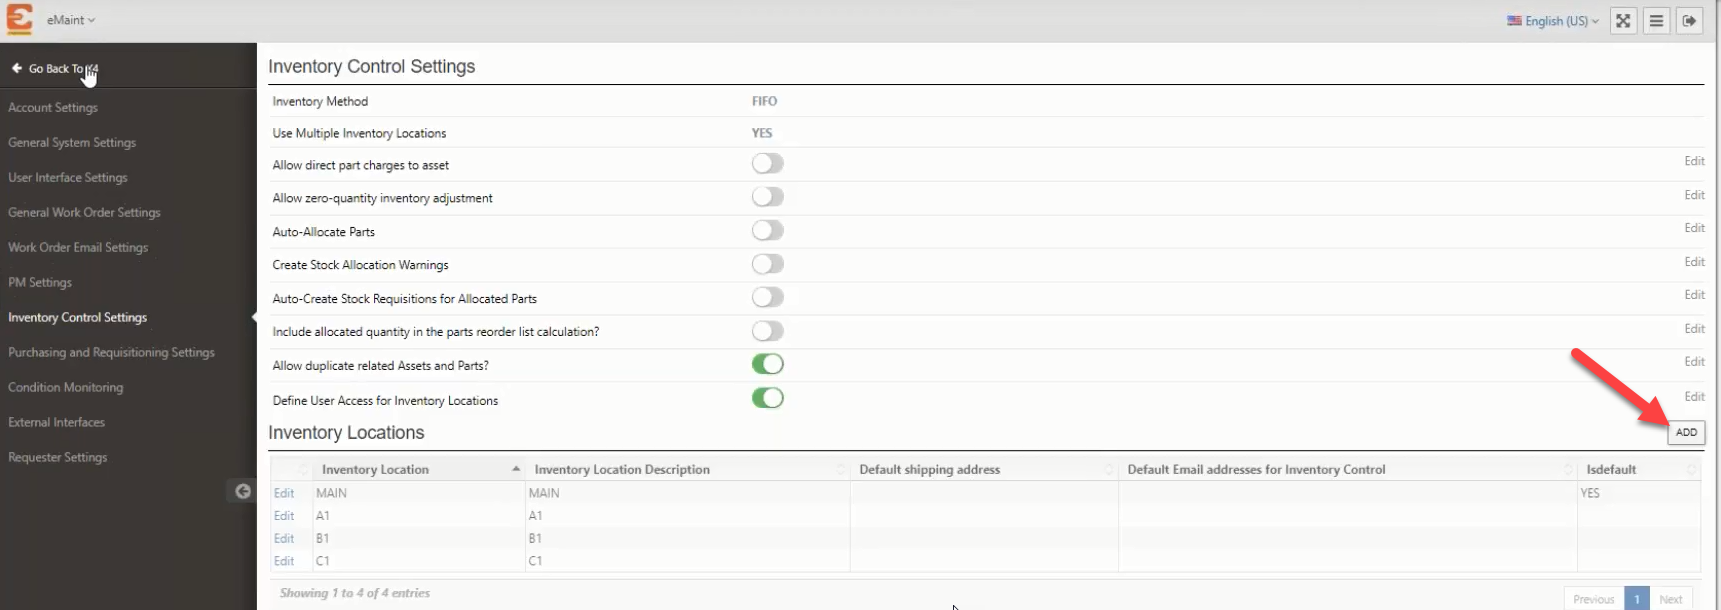
When all locations have been added and saved to the system click on “Go back to X4” at the upper left of your screen to revert back to your list view.
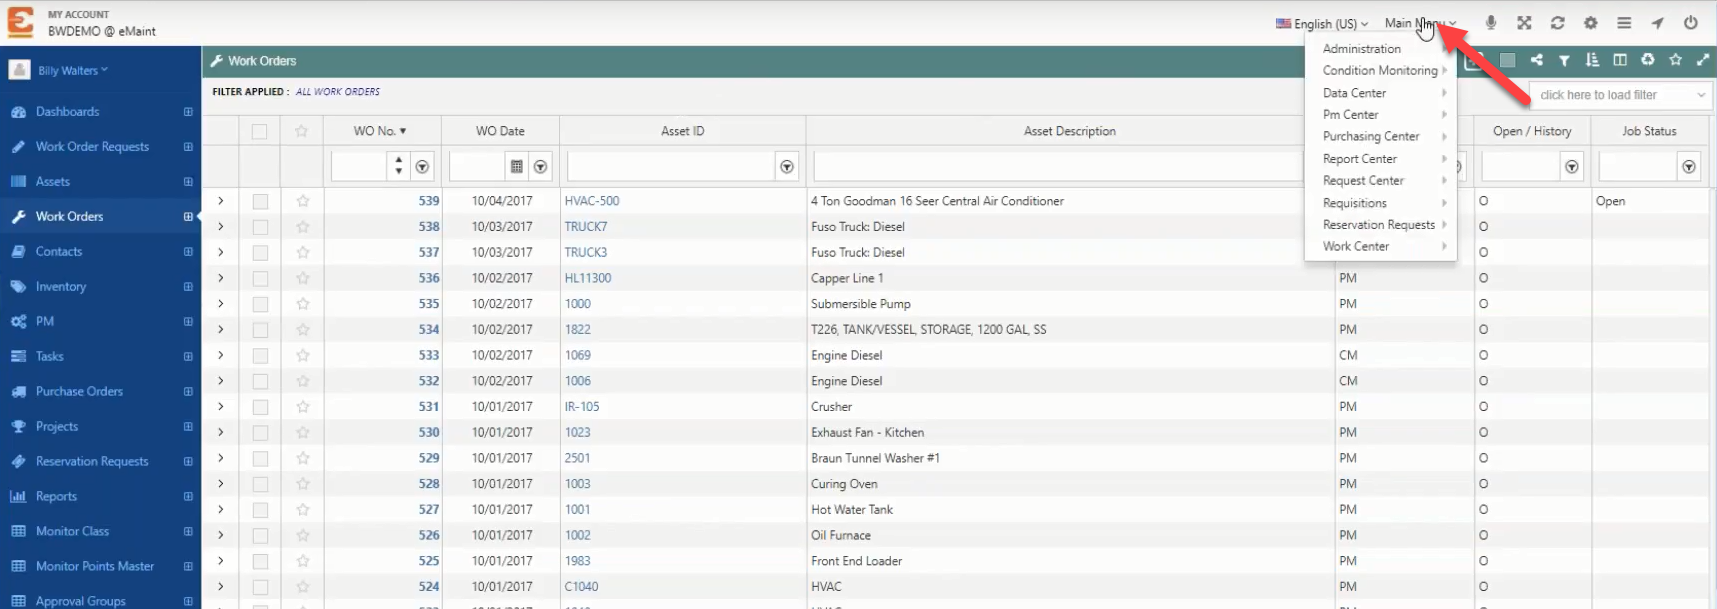
Now that you are back on the main screen of your eMaint account, take your mouse hover over the “Main Menu” at the upper right of your screen until the drop down menu appears.
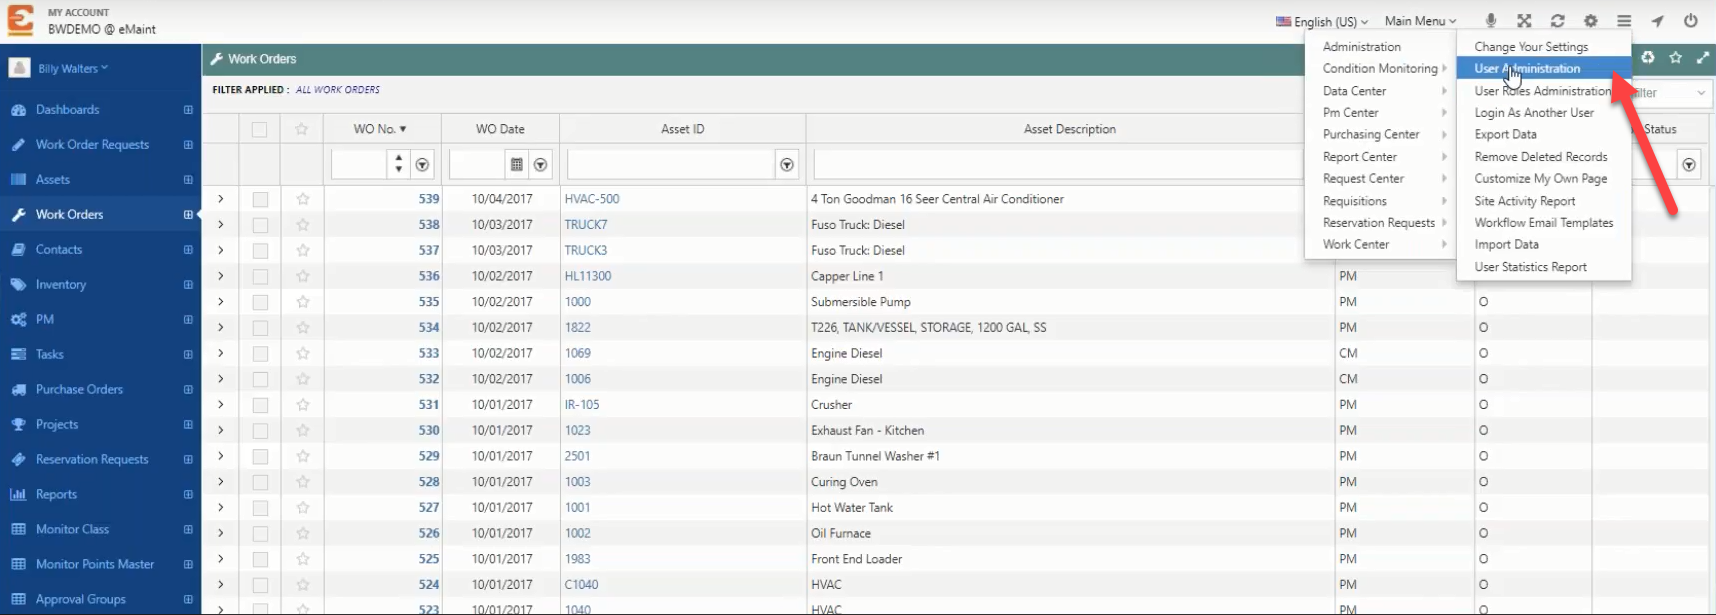
Once the drop down menu appears move your mouse down so that it hovers over “Administration” and another drop down menu appears to the right of the existing drop down list. When the right side drop down list is available click on “User Administration”.
Clicking on User Administration accesses your complete list of system users. This is where you will customize each users inventory location access. Once you gain access to the users list click on the account name that you would like to customize.

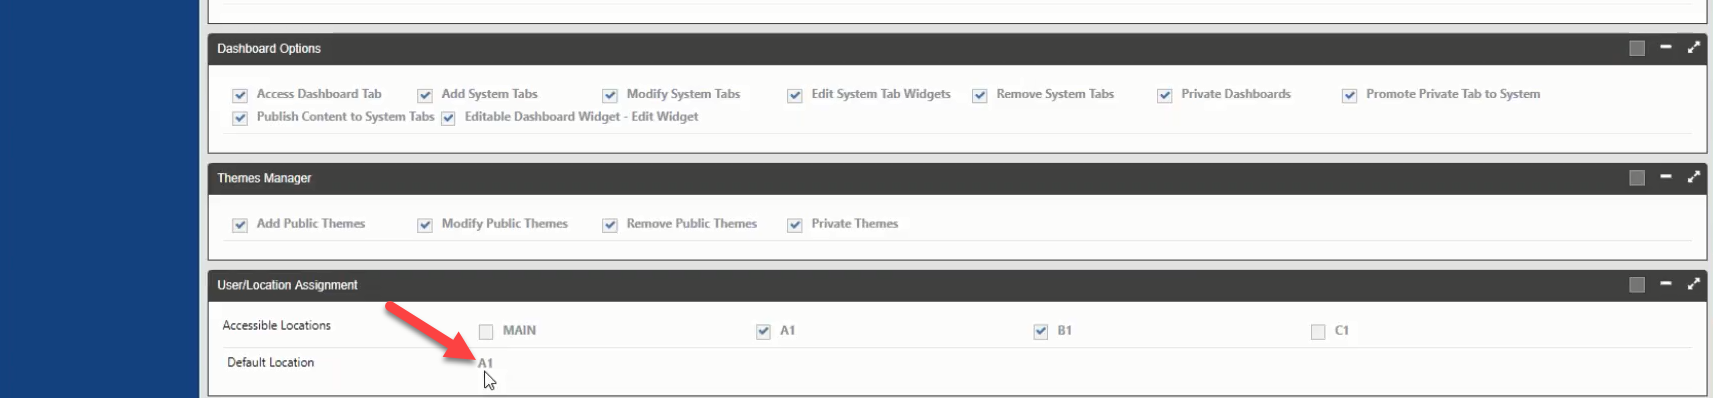
You are now in the User Permissions window for that user. Click the edit button and scroll down to the bottom of the screen where you will find the User Location Assignment field.
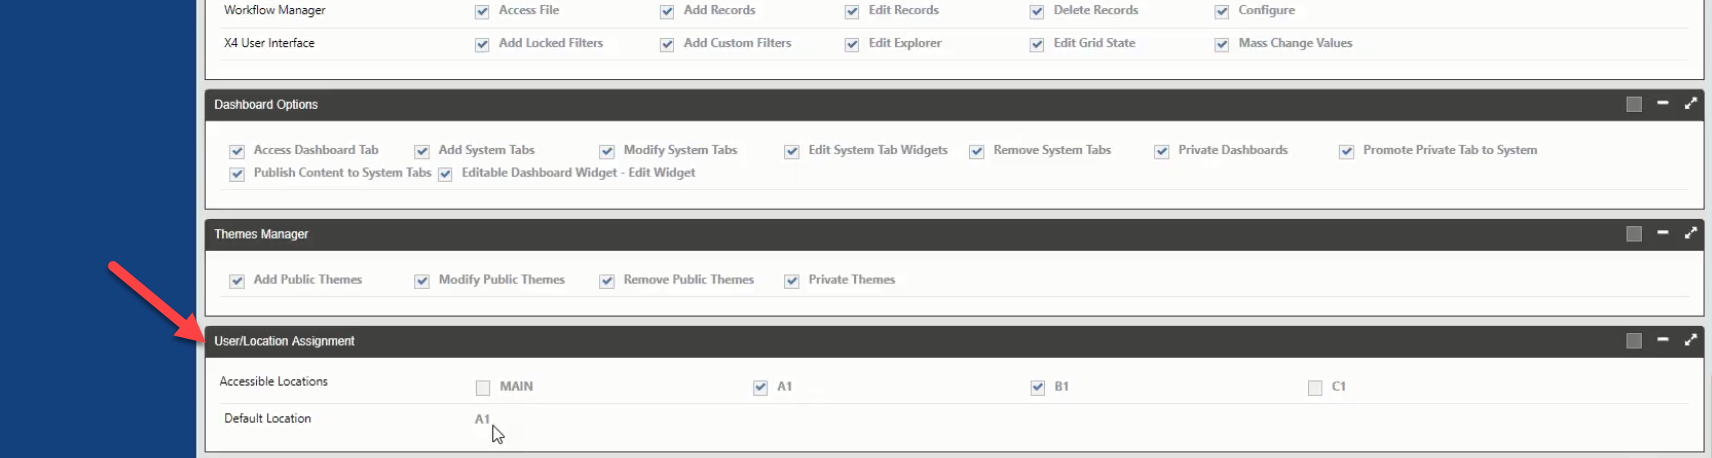
Select the desired location assignments by clicking in the box adjacent to the location(s). You can also create a default location the system will automatically filter to when creating a new part charge by typing that location into the Default Location.
After you have made the needed selections save your changes, at the top left of the User Permissions page. Then click on the Go To List to continue on to the next user.