Section 1: Introduction
This manual is designed to provide you with an overview of eMaint University.
eMaint University is a Learning Management System (LMS) powered by Litmos. With our courses in an LMS, we can now provide an improved learning experience for all users that will include:
Interactive Training
Book marking – Module/video progress tracked and saved
Curriculum based learning
Certification
Reporting – Completion/Progress
Assignments – Learners can be assigned training instead of hunting for it
Improved searching
Cleaner Interface
Upon completion of reading this manual, you should be able to:
Successfully navigate in eMaint University
Understand the differences in the roles
Discuss people and team
Assign Courses to Teams and People
Access reports
Section 2: Roles with eMaint University (eU)
Learner - By default all new people that you add to your EU account start off at the Learner level.
Team Leader – The Team Leader (eMaint Admin User) has the ability to manage all of the assigned training and report on the results for the people on their assigned team.
Team leaders have full control over their team and also any sub-teams under that team.
Team leaders can add/remove training courses to any teams they control.
Team leader can add/remove people to teams they control.
Team leaders have access to all available reports for the results of people on their team.
Team leaders cannot create or edit courses.
Team leaders cannot change any account settings, logo, custom messages etc.
Section 3: Team Leader View
The Team Leader (eMaint Admin User) role in eMaint University provides a level of permission that allows them to create users in their own teams, create sub-teams, assign training courses to those users/teams, and monitor and report their results. The Team Leader cannot create or edit training courses.
NOTE: Team Leaders can also deactivate and delete users, so it is very important to understand the role and responsibilities.
To access eMaint University will depend on your set-up, you will either click on:
1. Account Name
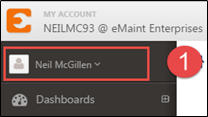
2. My Shortcuts

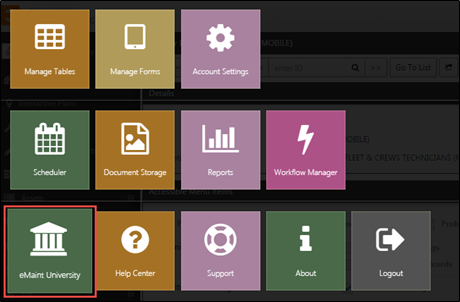
The system tiles will display as shown below and click on the eMaint University tile.
You will be redirected to the eMaint University site and automatically signed in with your eMaint login credentials. The Team Leader landing or home page will be similar to this example shown below.
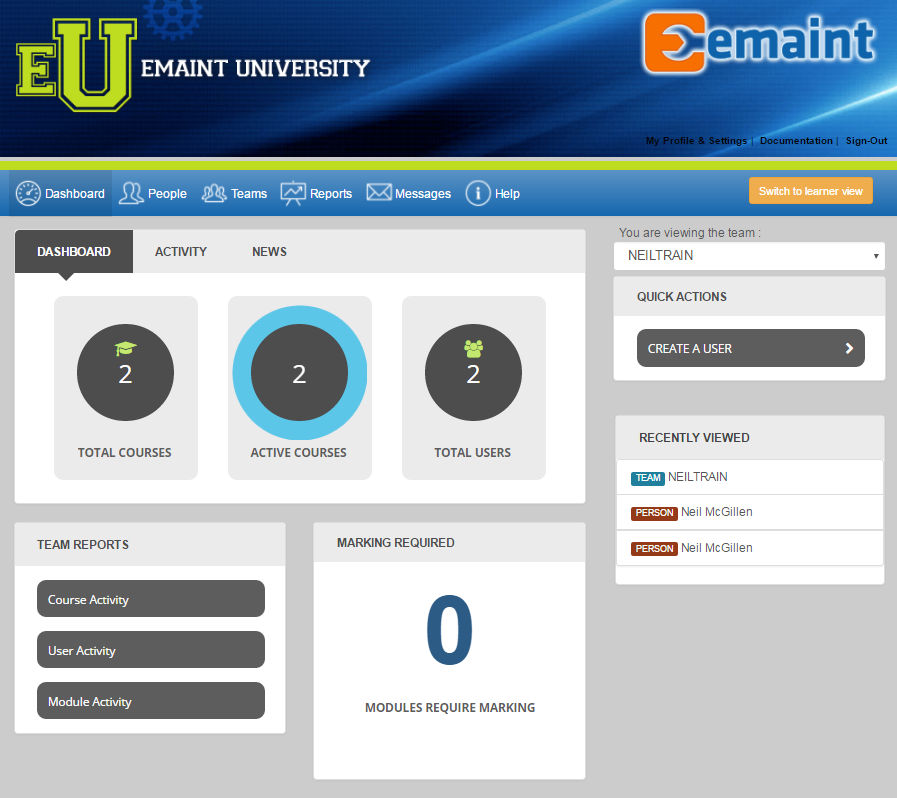
Section 3a: Home page
Team Leader view has Five tabs:

Dashboard – Provides information to the Team Leader specific to his assigned team.
People – Provides access to all people assigned to the Team Leader.
Teams – Provides access to all teams and sub-teams assigned to the Team Leader.
Reports – Provides access to reporting for all assigned people and teams/sub-teams.
Messages – Provides access to the messaging center for sending and receiving message within eMaint University.
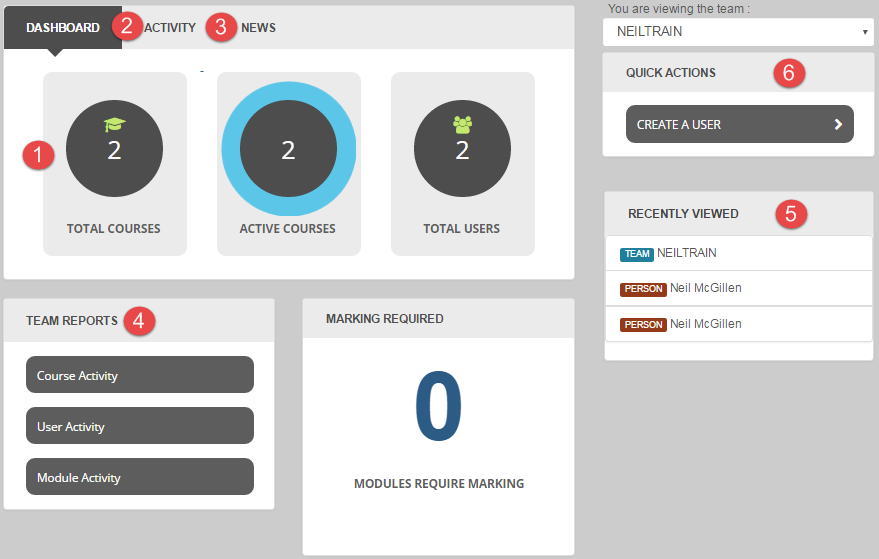
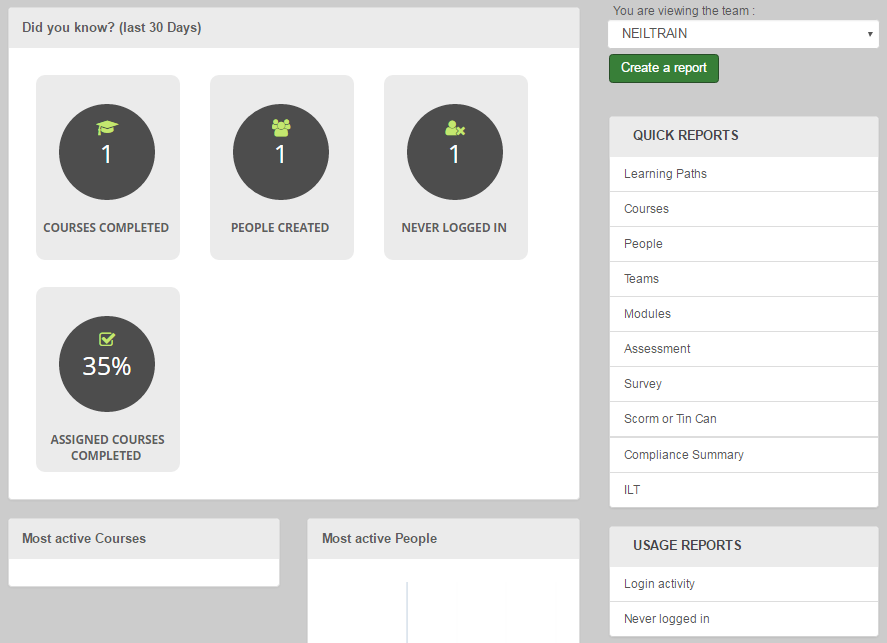
Dashboard
The Dashboard consists of:
Total Courses, Active Courses, and Total Users on this team.
Activity for the team during the past 30 days.
News provided by the eMaint University System Administrator.
Team Reports shortcut link.
Recently viewed people and/or teams.
Quick Actions shortcut links.
Section 3b: People & Teams
People
This tab will provide you with access to the all the people that are associated with your team.
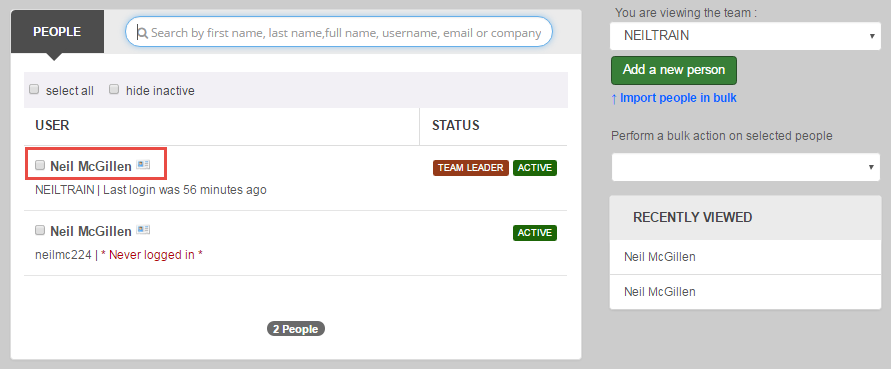
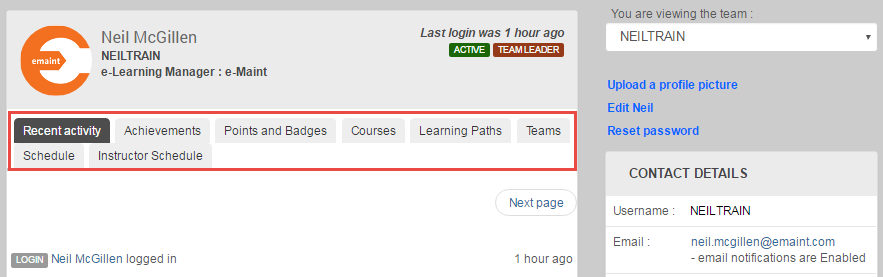
Clicking on the User Name will allow you to drill down into the learners:
Recent Activity
Achievements
Points and Badges
Courses/Learning Paths
Teams/Schedule
Contact Details
Upload a profile picture
Edit User
Reset Password
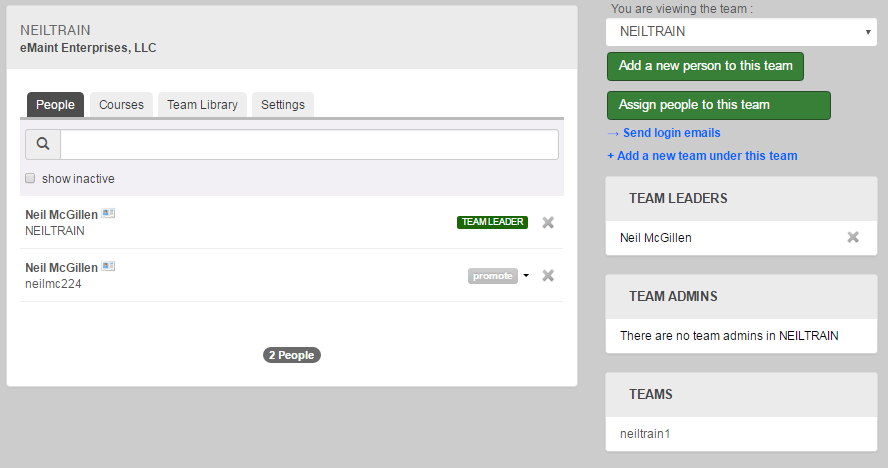
Teams
This tab will provide you with a list of teams and sub-teams assigned to the Team Leader.
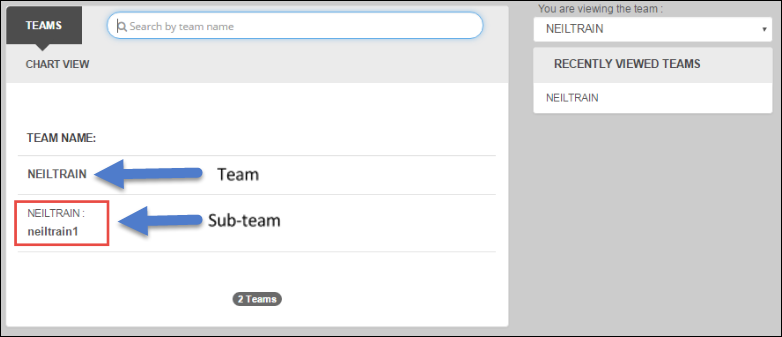
Clicking on the Team name will show you the People on the team, Courses assigned, Team Library, and the Team settings (Team Name and Description). The Team Leader can also add a new person to the team; assign people to this team; add a new team under this team (sub-team).
Section 3c: Assigning Training
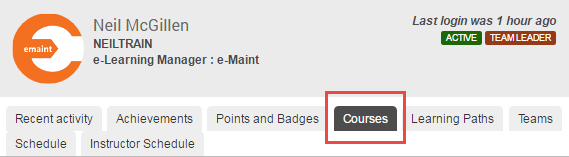
Note: A Team Leader may only assign courses that they have already been assigned to by the system administrator or through course self-sign up in the Learner View. The Team Leader can verify the courses that have been assigned to them by clicking on their name and then clicking on the courses tab.
There are 2 ways to assign training:
Team
People
Assign by Team
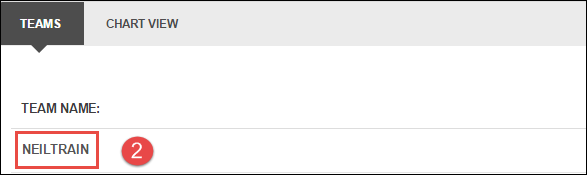
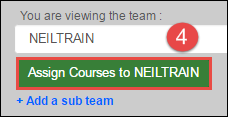
To assign a course to an entire team; click on the Team tab.
Click on the Team Name.
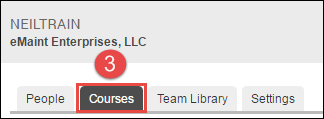
Click on the Courses Tab.
Then click on the Assign Courses green button
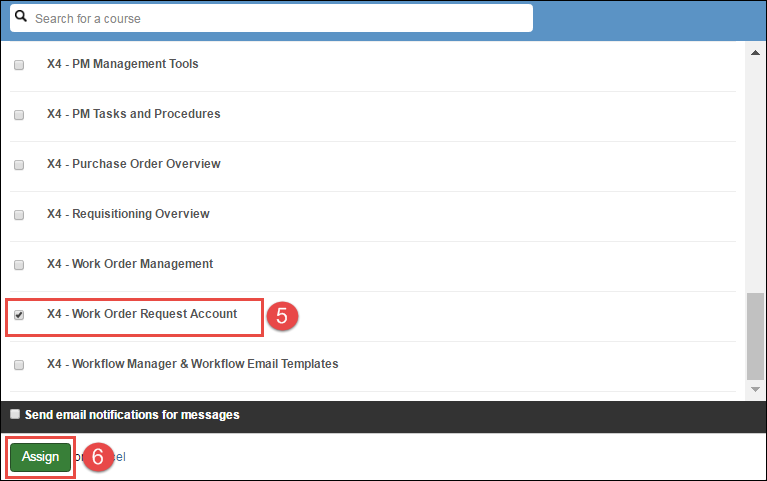
Select the course by clicking the check box to the left of the course title.
Click on the green Assign button.

Assign by People
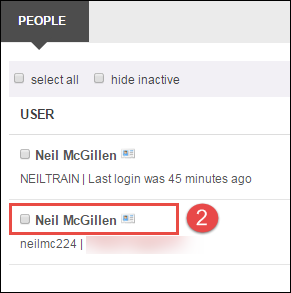
To assign a course to team members; click on the People tab.
Select the name of the user.
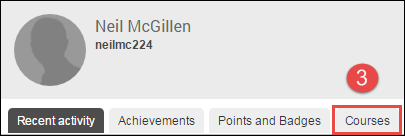
Click on the Courses tab.
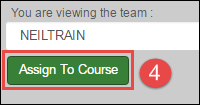
Click the green Assign to Course button.
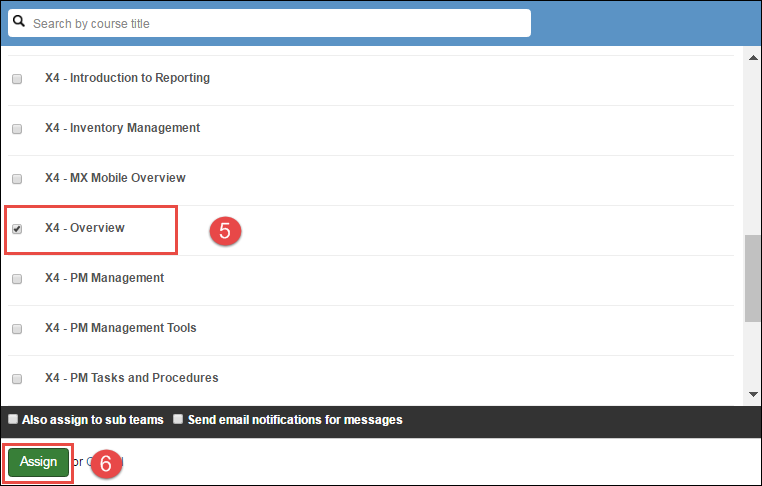
Select the course by clicking on the check box to the left of the course title.
Click on the green Assign button.

Section 4: Reports
The “Reports” tab gives you access to real-time results, enabling you to easily keep track of individual trainee progress or compare the results of teams within your organization.

Reports Home
The reports home screen is your starting point for accessing all of the different types of reports. This screen also has some basic information about your eU account as a whole.
From the home screen, you can jump to the:
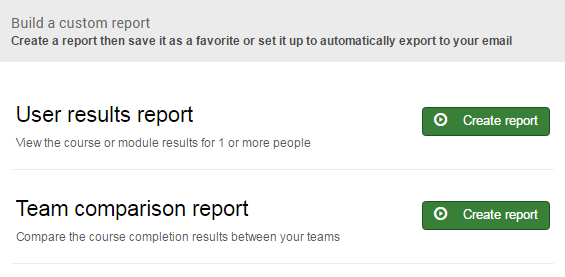
Create a Report
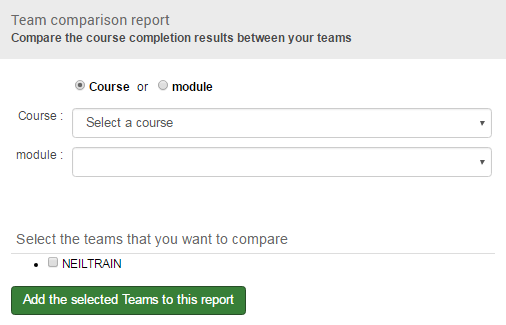
Press the green Create a Report button. Then you can choose between User Results or Team Comparison.

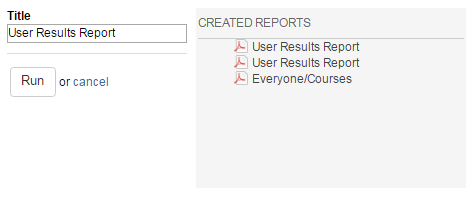
Select the report criteria – users, courses, date range, inactive users/results included – then press the
‘Run Report’ button.
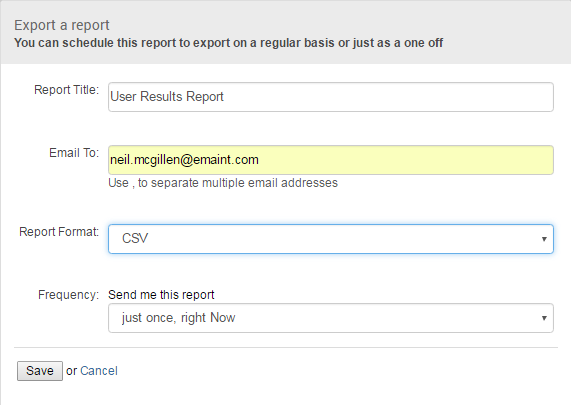
The report can either be downloaded on your PC, as a PDF report, or scheduled to be exported and sent to an email address as a CSV report.

You can choose:
NOTE: If you want to export report data in a format other than CSV you do this using a Custom export format. Contact the eMaint University Administrator via email if you require additional information on custom reports.
The custom format allows you to enter:
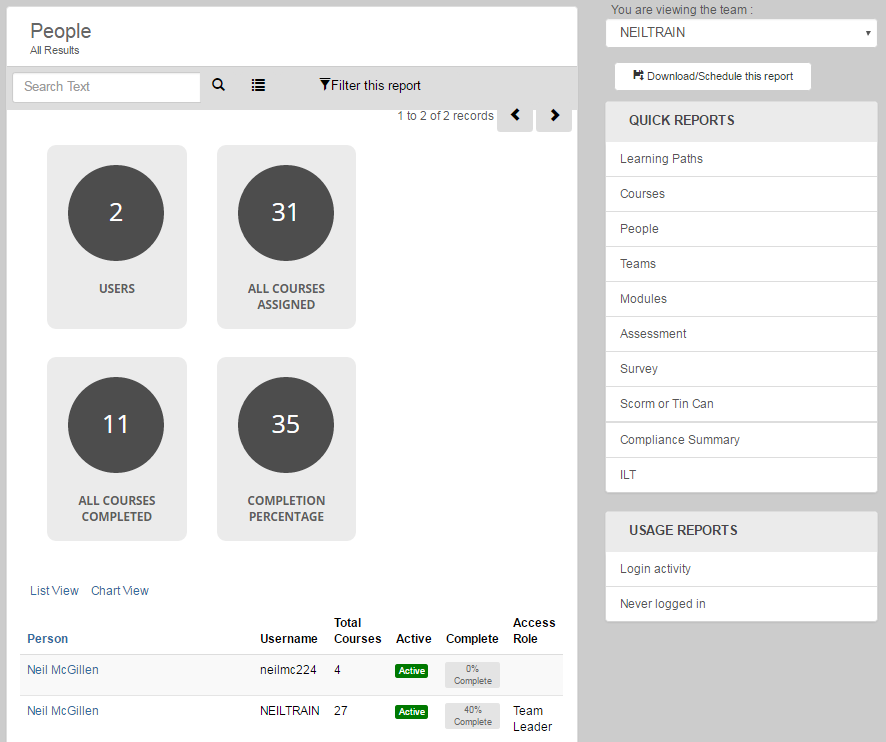
Quick Reports
All of the Quick Reports in eU have a similar look and in most cases you can drill down further for more results by clicking the blue text within a report. Here is an example of a Quick Report for People.