An “Inspection Round” PM is a calendar based PM schedule for multiple (or single) assets. You will be able to schedule an inspection round PM and once generated, you can Pass/Fail procedures on different assets on the Work Order and the system will generate follow-up Work Orders upon a failure. If this configuration does not exist in your account please contact your Customer Success Manager.
This feature is mainly designed to allow you to setup PMs for parent assets (and their children). For example, you may have a parent asset for your fire extinguishers and 5 children extinguishers (also assets). By creating an Inspection Round for the parent, all the children extinguishers will be on the WO and your users will be able to perform the inspections quickly.
Additionally, on the Inspection Round WO, users will be able to go over each asset on the list and mark them as “Pass” or “Fail,” write comments, etc. For the standard configuration, after the WO is closed, "Failed" procedures will create a follow-up WO with a WO type of ICM (Inspection Corrective Maintenance).
Creating Inspection Rounds for Parent assets (All Children Included)
1 - Create a Task and Task Procedures for your (Children) Assets
Before creating inspection round schedules on your equipment, you need to create a list of the task procedures to be performed on those assets. In the eMaint system, these task procedures are created using the Task table on the left hand side menu (if not there it, it can be added).
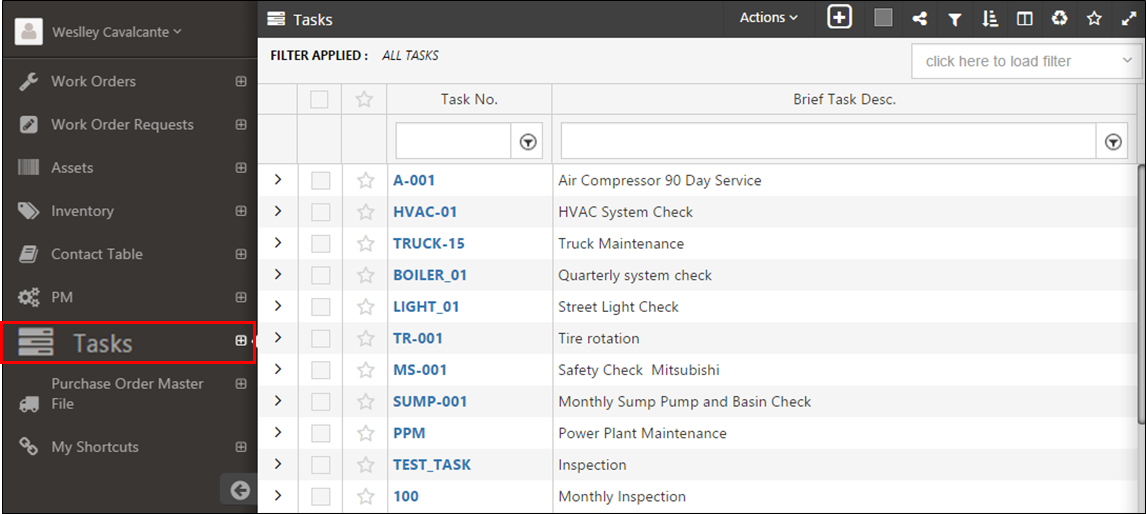
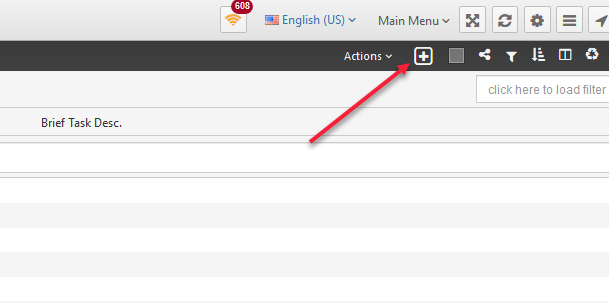
From the list view, you can add new tasks by clicking the plus button at the top of the list or you can access one of the existing records for viewing or editing by clicking on the task number of the selected PM task.
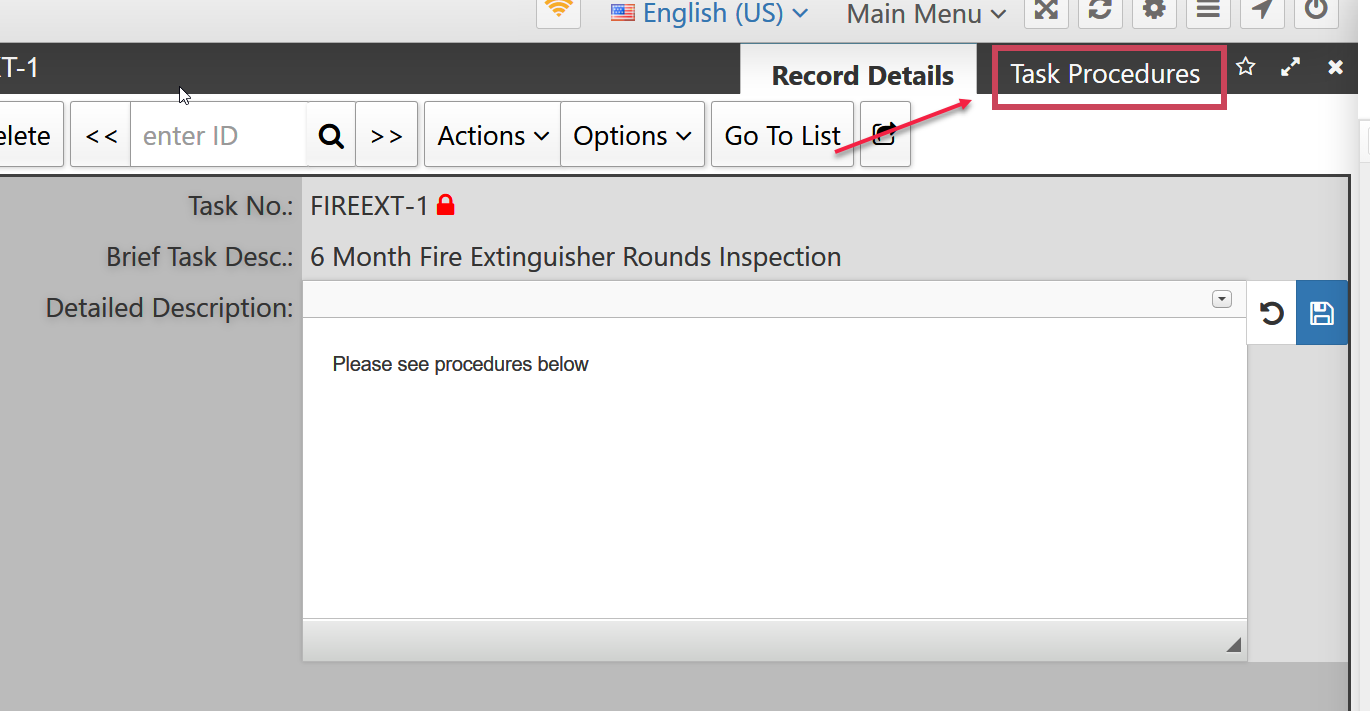
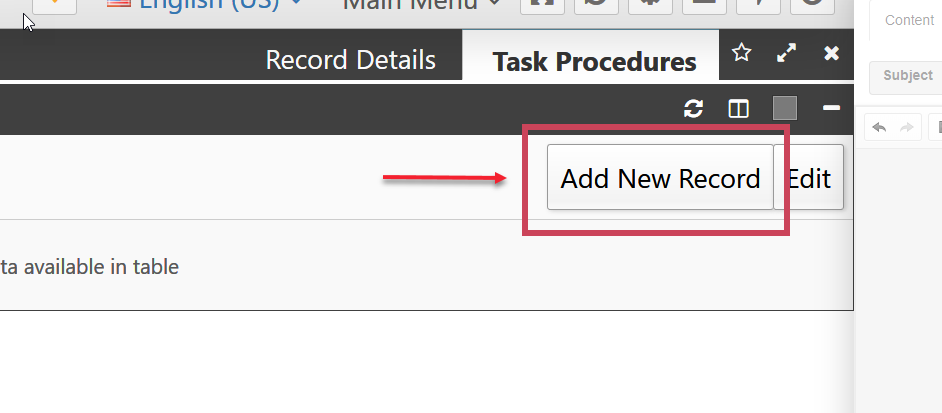
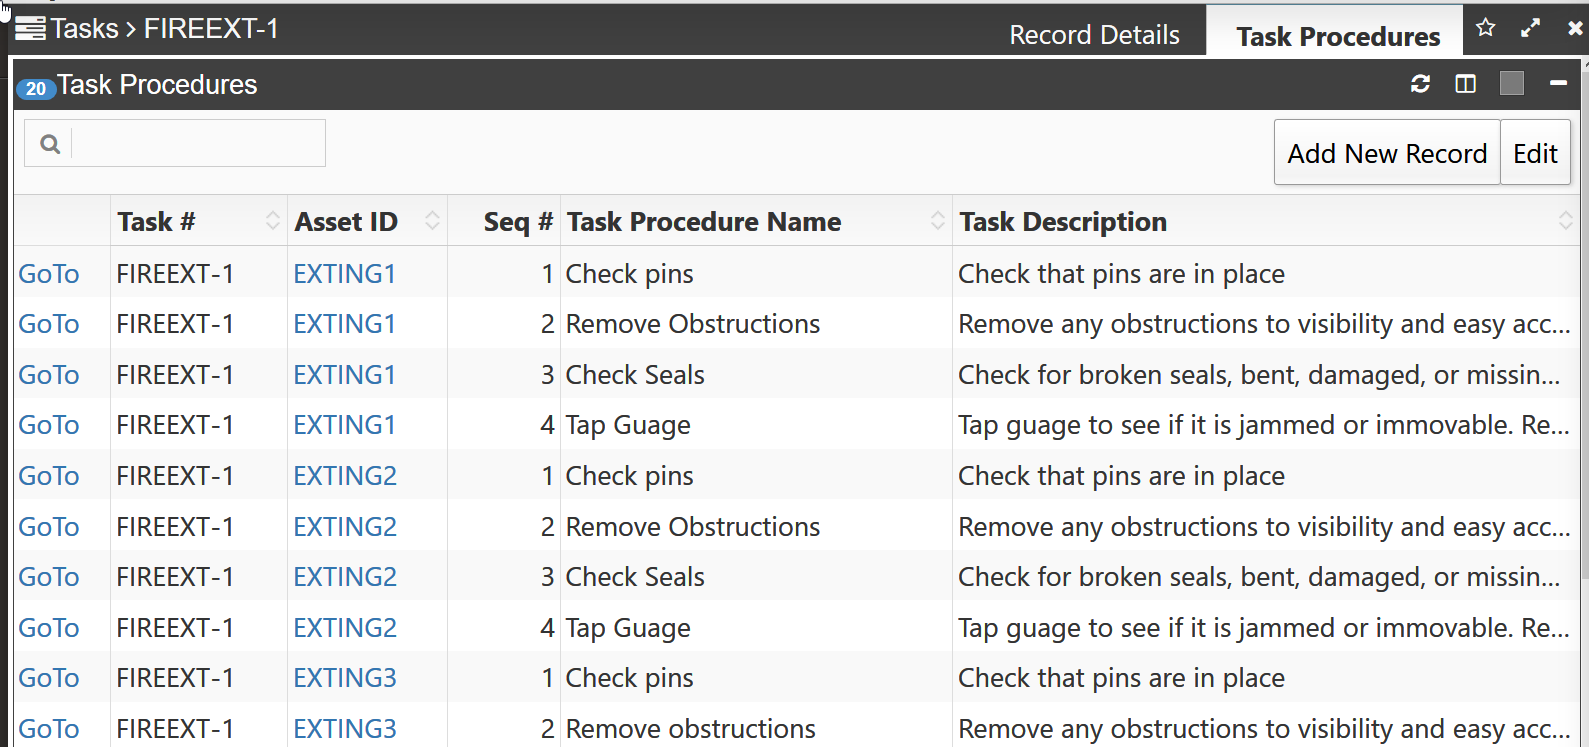
After creating and saving the task, you will need to click on the “Task Procedures” tab where you will see the “Task Procedures” related table. In that section, click the “Add New Record” button and start creating the task procedures separately, one at the time.
Fill out the Procedure form with the Sequence Number, Task Description, Hours, Task Procedure Name, and select your Asset ID. Repeat this for all your children assets and procedures.
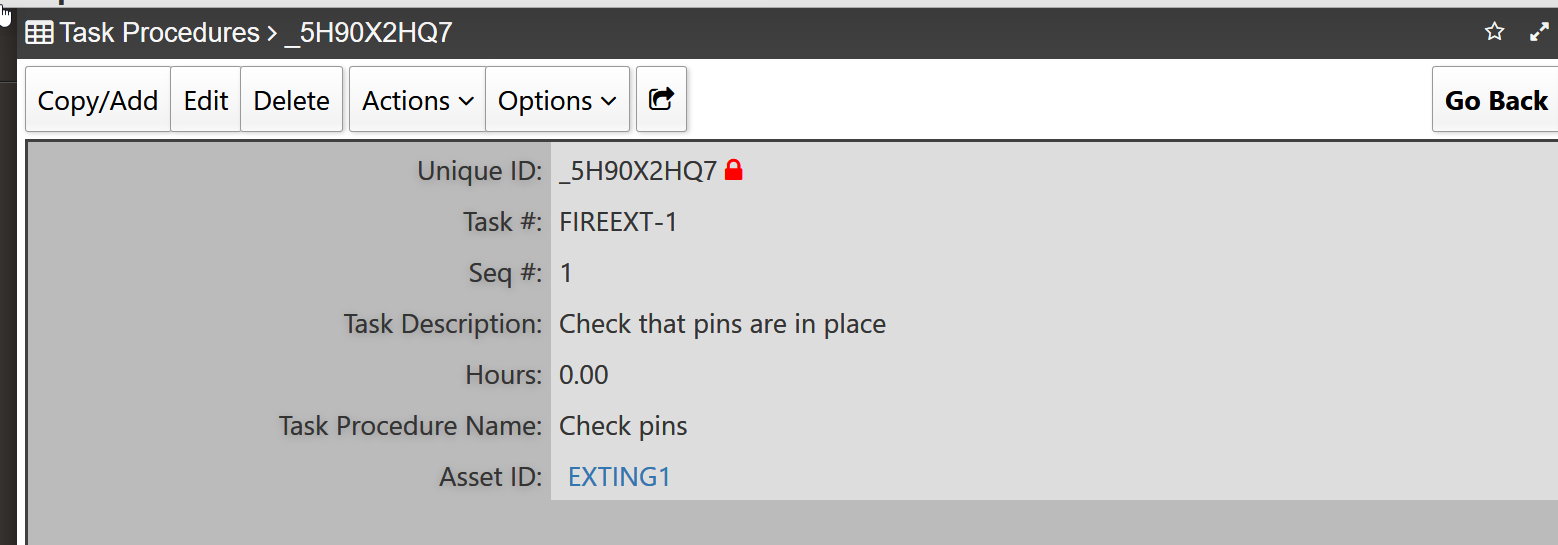
When you are done adding all the procedures, your task will look similar to the one demonstrated below:
2 - Create the PM Schedule for the Parent Asset
Now you need to create the PM schedule for the parent asset. Find the parent asset and go to the related tables.
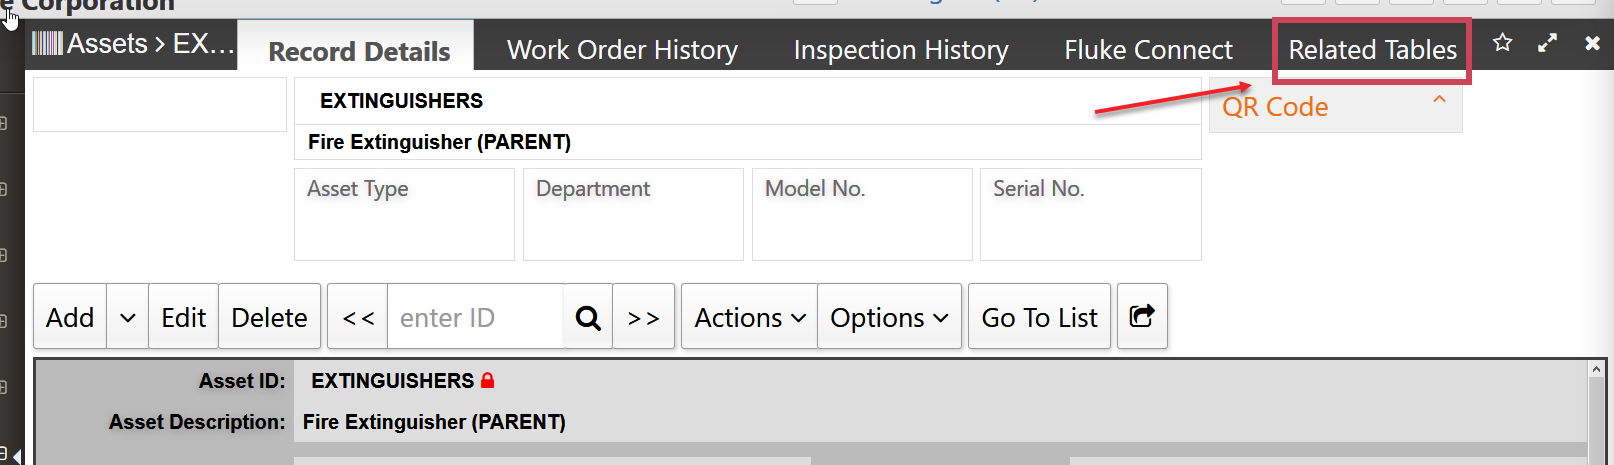
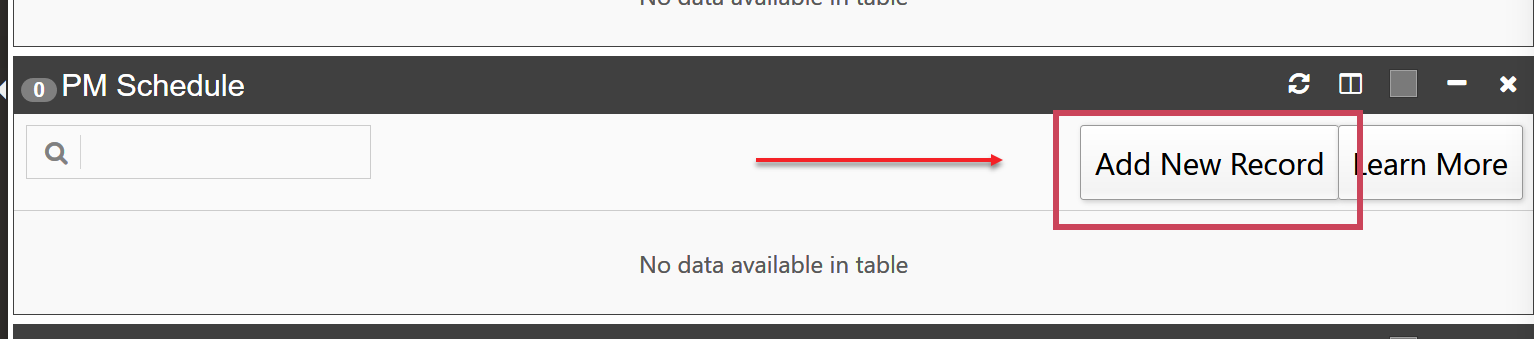
Go to the "PM Schedule" related table and lick on "Add New Record." This will take you to a new PM Schedule form where you can create the calendar-based PM schedule for the parent asset.
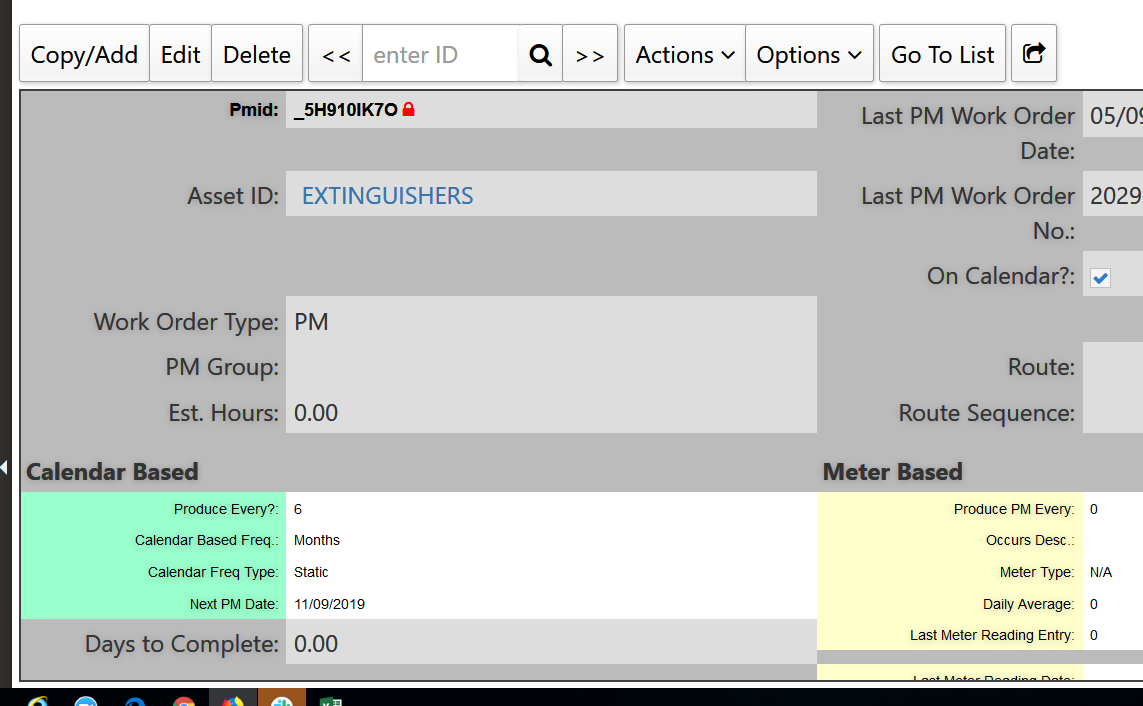
3 - Add the Task to PM Schedule
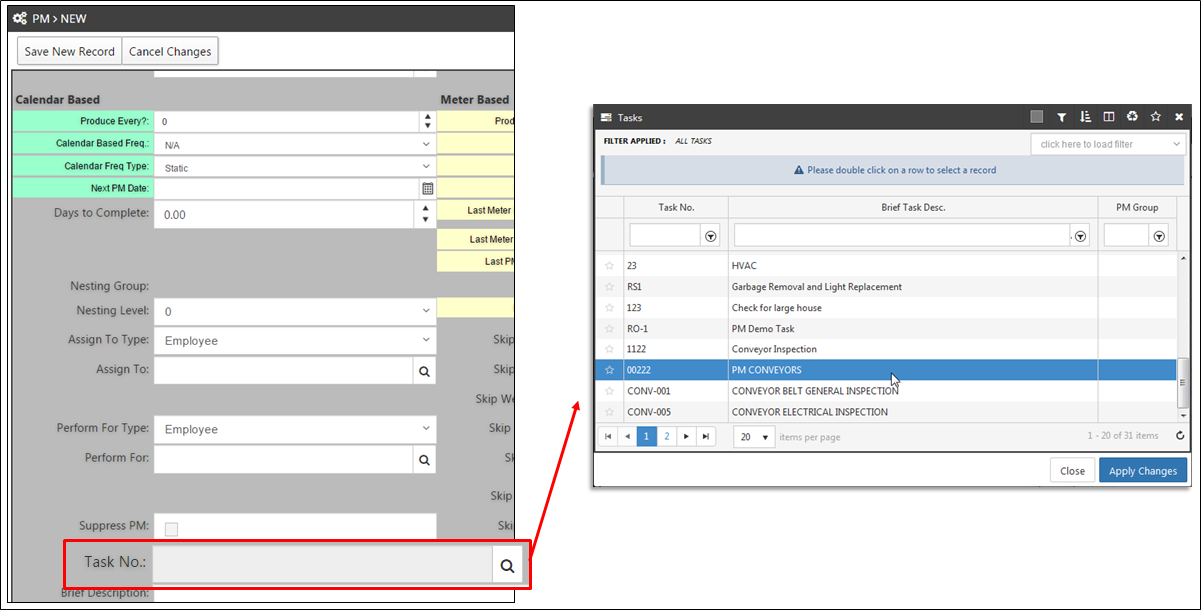
Now that you have created the PM for your parent asset, you will be able to associate your task with the PM schedule. On the PM schedule form, click on the magnifying glass on the "Task No." field and select the Task for the procedures you created in step 1.
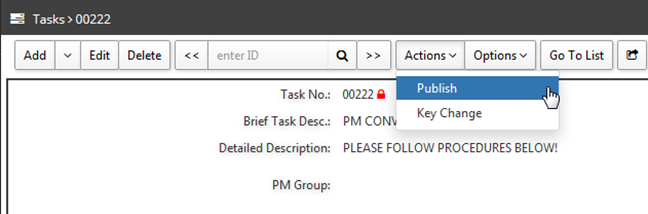
You may need to publish the task in order for its “Task Procedures” to carry over to the “PM Procedures” related table. (You may also have a workflow that carries over, or publishes, the procedures automatically.) To publish the task procedures, return to the Task and hover over the Actions button and click on Publish so the Procedures will copy over to the PM.
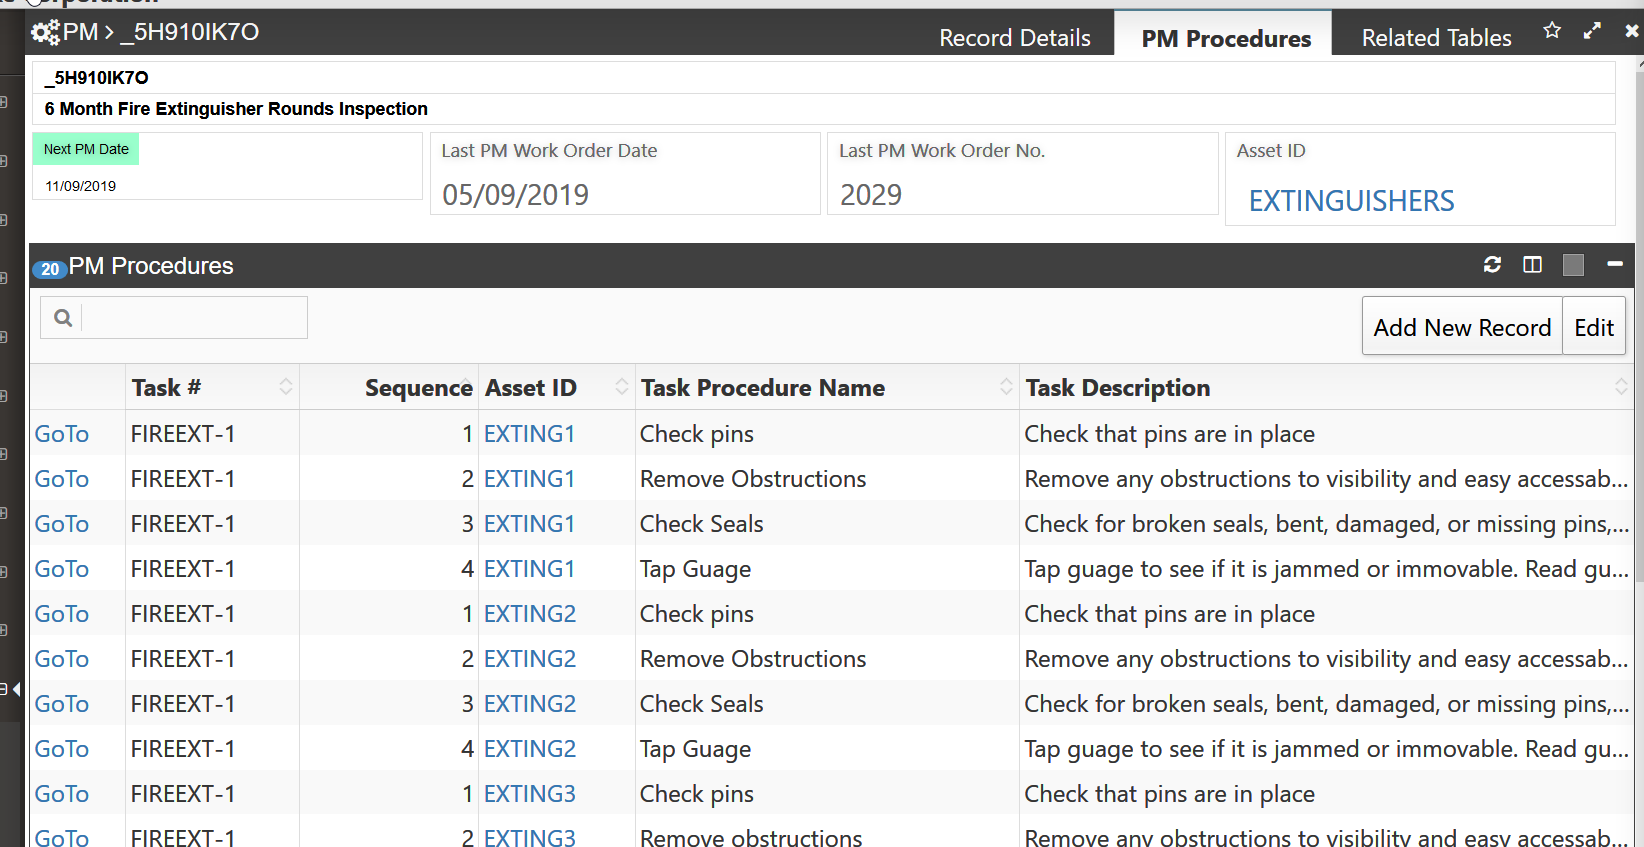
After publishing that task, the procedures will now appear on the “PM Procedures” related table.
4 - Pass/Fail Procedures on the WO
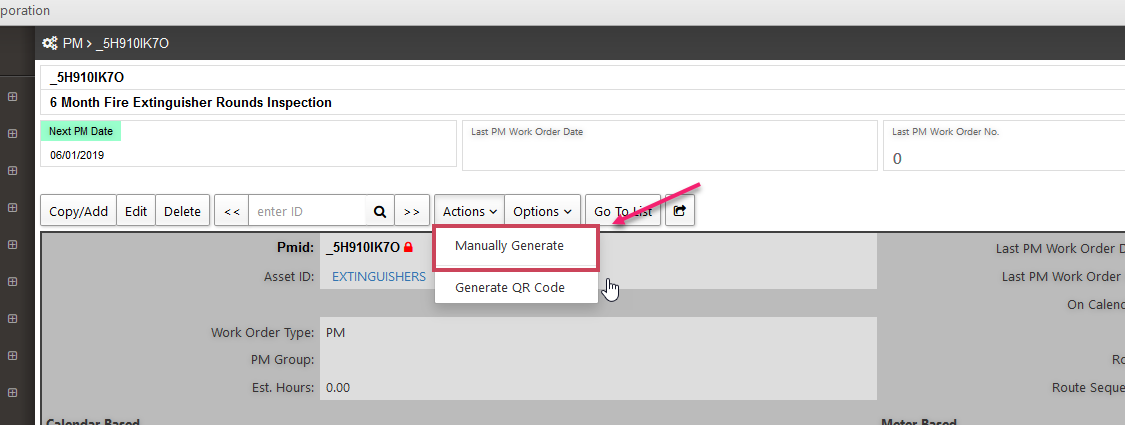
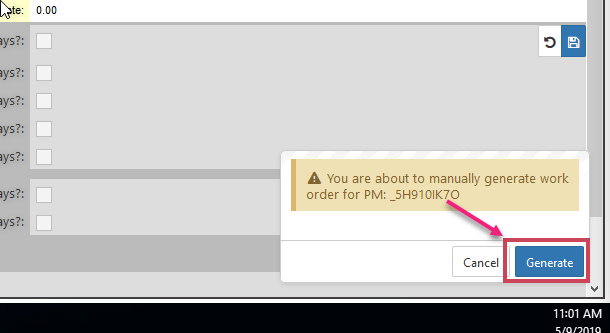
Now, Every time this PM generates, a WO with these procedures will also appear in the “Work Procedures” related table within the Work Order. In order to demonstrate for this example we are going to manually generate the PM. To manually generate this PM go to the record details of the PM and hover over Actions and click on "Manually Generate." And then click on the Generate button at the bottom of the screen.
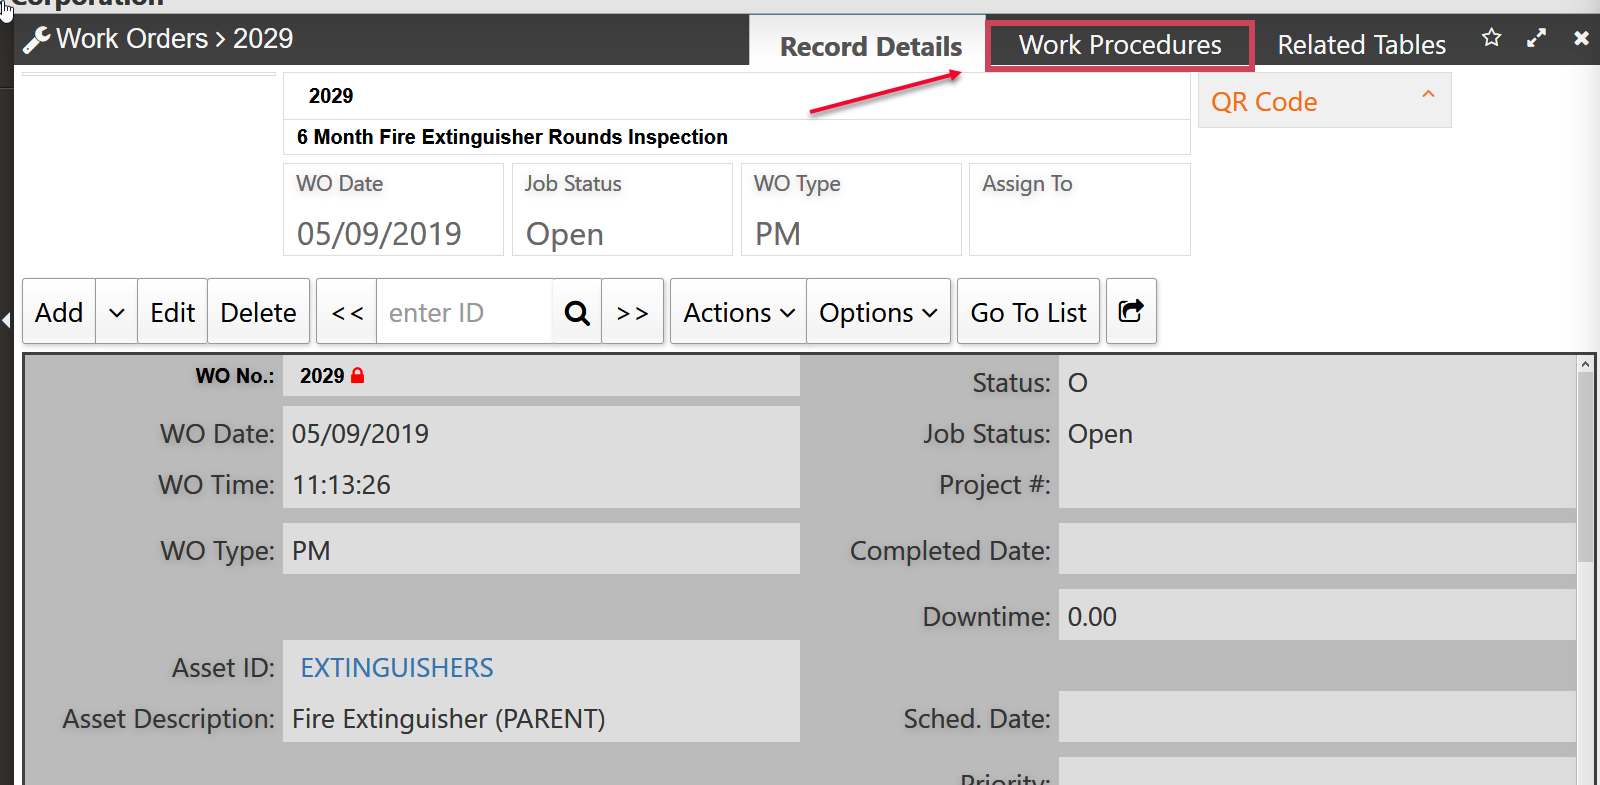
Next, the system will open the new WO and you can navigate to the Work Procedures table where you can edit all the procedures for each child asset.
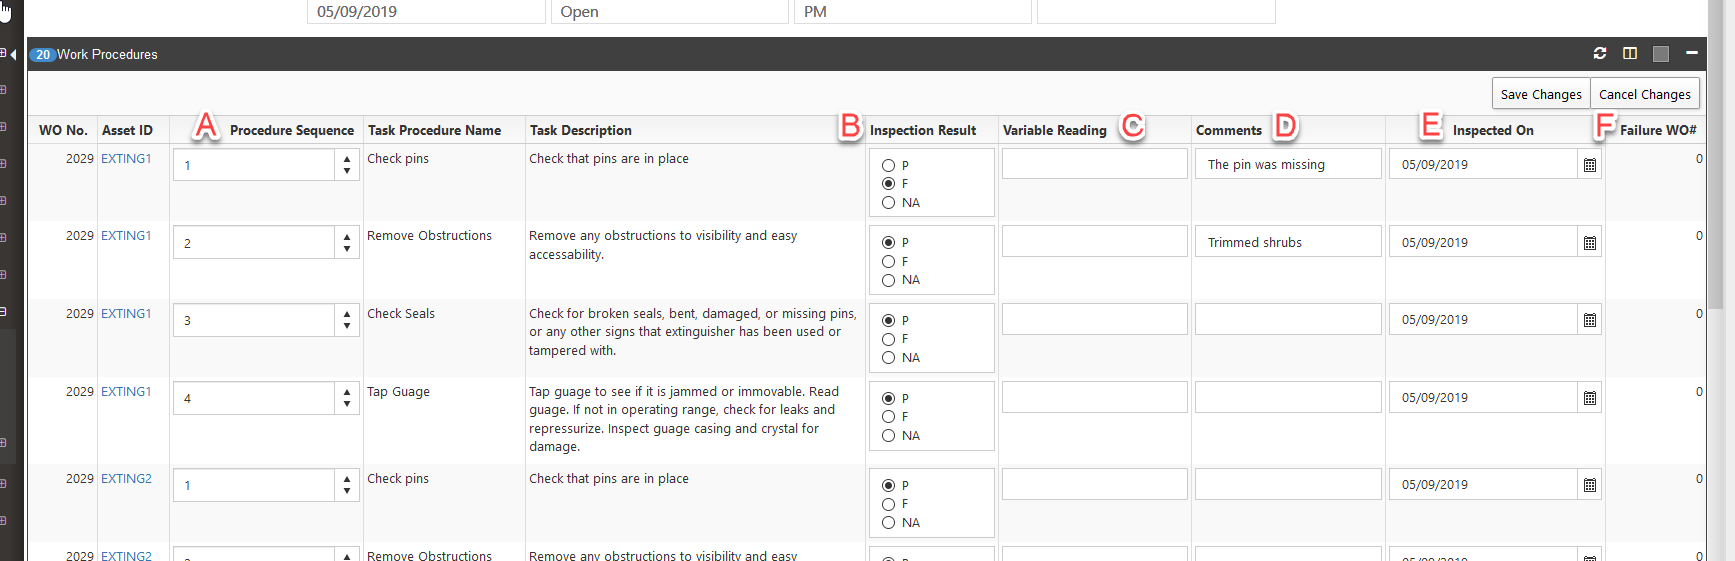
Once you click on Edit, you will be able to:
A - Change the sequence of the procedures.
B - Select if the procedures Pass or Fail, or if it's Not Applicable.
C - Enter a variable reading.
D - Enter comments for the procedure.
E - Select the date on the calendar the procedure was completed.
F - View if there was a Failure WO previously assigned.
If one of the procedures is marked as Failed, the standard configuration will create a new follow up Work Order for that failed procedure when the Work Order is closed. The new follow-up Work Order will have a WO Type of ICM (Inspection Corrective Maintenance) and the Brief Description field will say "Corrective Action Needed - See Comments." The comments entered of the failed procedure will follow through to the Work Description field of the new WO, along with anything entered in the Variable Reading field.
There is also a field on the follow-up WO called "Inspection Round WO#" which will link the current follow-up WO to the original WO that had a failed procedure. See below for an example.

5 - Inspection History Related Table under Assets
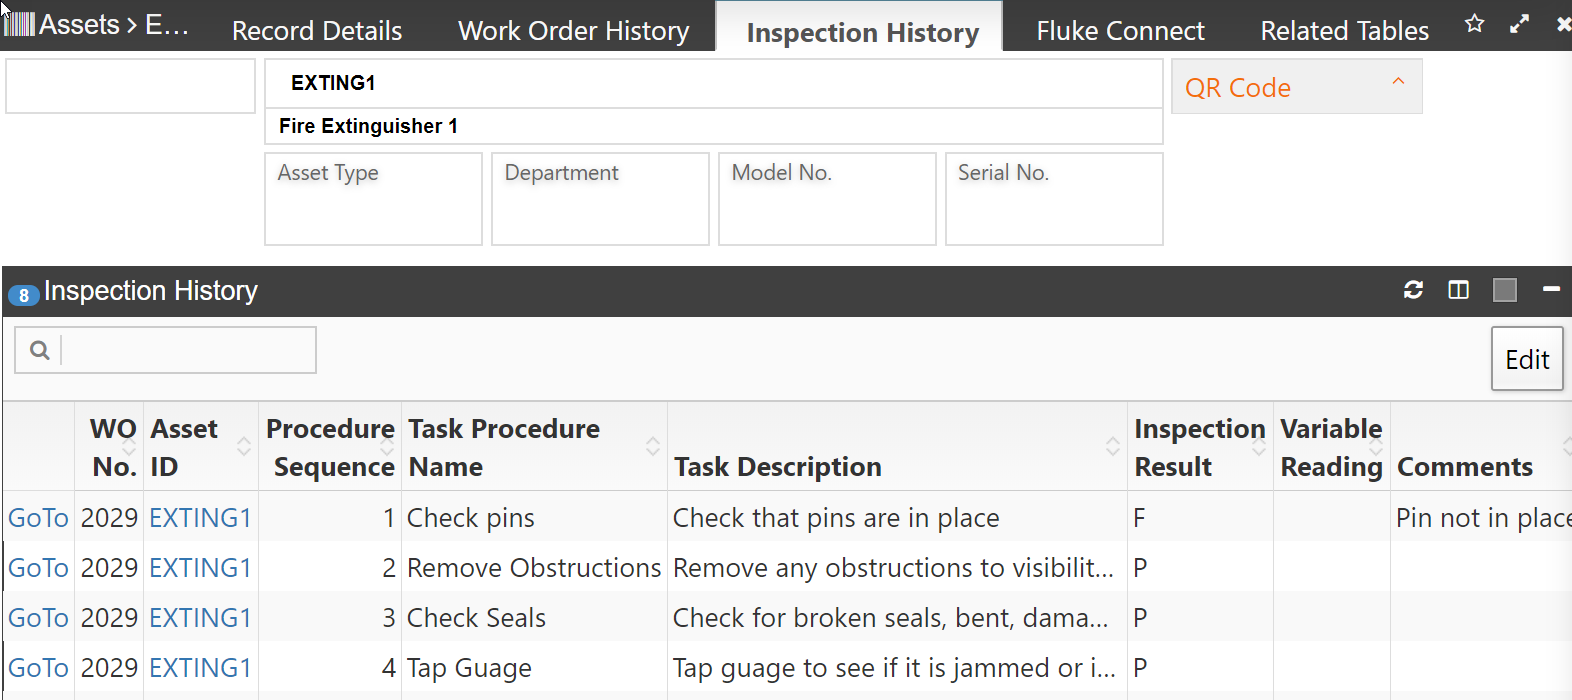
You can also view the inspection history for each of the Assets under a related table called Inspection History. Navigate to the child Asset and then the related table called 'Inspection History" (this may need to be added).

You will be able to view the inspection history for each child Asset and determine where, or if, a failure took place.
6 - Additional Configurations*
If you wish to discuss additional configurations for Inspection Rounds, please contact your Customer Success Manager. Below are some examples of the possible modifications:
- Instead of the follow-up WO being created (from a failed procedure) after the WO is closed, you can have it created when the WO Procedure is saved, or after the "Job Status" field is set to Completed.
- Also, you can have the follow-up WO create only for the parent asset and not for each individual child asset.
- Any information that is displayed within the "Work Description" field on the follow-up (ICM) Work Orders can also be modified upon customer request.
* Cost may be incurred dependent upon complexity.