The default requester email that gets created when a request is made is hard-coded within the eMaint system. Because of this there cannot be changes made to the standard email. One option that clients have would be creating a custom workflow email template to choose the information and fields that will appear on an email.
There are two steps required to creating a custom request email template.
- Edit the workflow email template "Custom Request Auto-Notification" to show the email information.
- Turn on the workflow "Custom Work Request Auto-Notification" to allow the email template to be sent out when work requests are created.
Customizing Workflow Email Template.
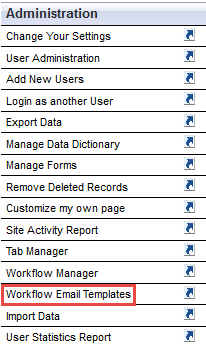
- To customize the email template for the request email, we want to go to the Navigation tab and then under administration, go to "Workflow Email Templates."
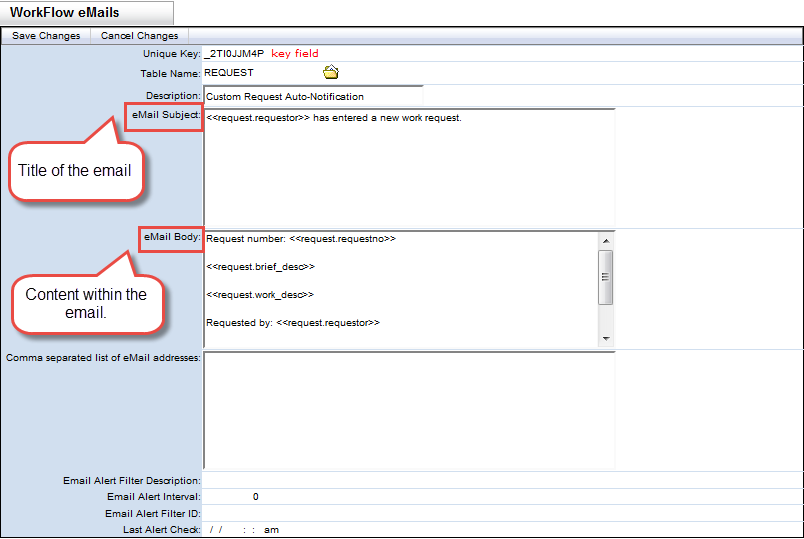
- From the list view for Workflow Email Templates, click on the pencil icon for "Custom Request Auto-Notification" to edit the record.
- From the edit screen, you can edit both the eMail Subject as well as the body information that is received from the email. If there is a specific email address or addresses that you want receiving the email you can enter them in the "Comma separated list of eMail Addresses" box under the body. If entering more than one email they should be separated with a comma and no spaces.EX: johndoe@emaint.com,janedoe@emaint.com
TIP: You can pull information directly from the request by referencing a field on the request table.
EX: <<request.work%20desc>> will give the work description of the request in the email.
Warning: If any field being referenced does not exist in the system (possible by misspelling the table or field), this will cause the request email to not generate at all. It is very important to make sure that the field added on the request exists.
After making your changes to the Email Template, click "Save Changes" and the details for our template is complete.
Configure the workflow for requests.
- After creating our Email Template, now we have to activate a workflow to trigger the action of sending out the email.
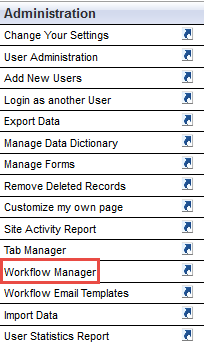
- From the Navigation Tab, go to the Administration section and select "Workflow Manager."
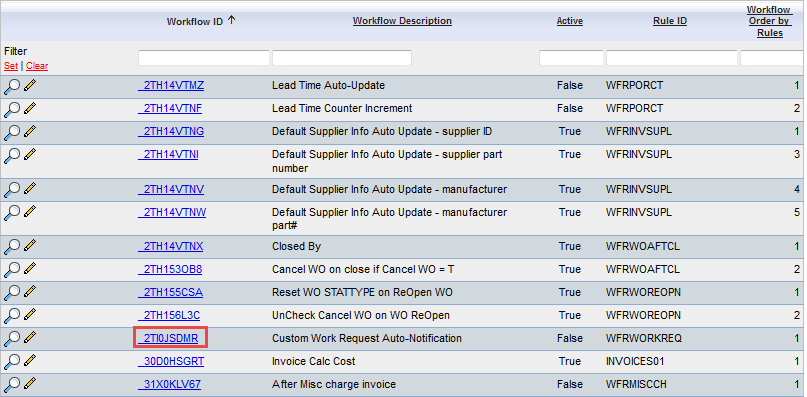
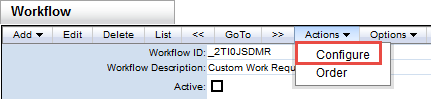
- From the list view for Workflows, click the Workflow ID for "Custom Work Request Auto-Notification."
Tip: Custom Work Request Auto-Notification is a pre-created workflow that has all the settings required to send the request email. We only need to activate the workflow and setup the emails that will be receiving the information.
- On the Workflow, go to Actions and click on "Configure" to edit the rules and conditions of the workflow.
- After entering the configuration of the workflow settings, click on the blue link with an email address in the grayed out box. This will give you a popup to with a few different options for selecting the email recipient.
- Default - If you entered email addresses into the workflow template this will send the email to those addresses.
- Custom - If you didn't specify emails in the email template you can enter them here.
- Field - Selecting this option will allow you to reference an email field that exists on your request form and will email whatever address is in that field.

- After choosing the option you want, click save and you will see your selection appear in the grayed out box. Click Save Workflow to save the changes.
- On the workflow screen, you will want to edit the record and turn on the check box for the field "Active" to activate the workflow.
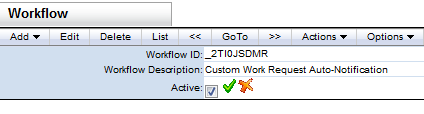
- With the Workflow Email Template created and the Workflow activated, you will now receive the custom request email when requests are created.