The Work Request process allows users to enter a request for a work order to be created. The work request is posted for evaluation by another user before becoming a work order. There are two areas a work request can be entered: the My Request screen and the Request Manager (Request tab).
Work Order Requestor Screen (My Requests)
Any user in your system who is designated as a Work Requestor Only will see the My Request screen after logging in. Regular users can access this in the Navigation tab in the Request Center section.
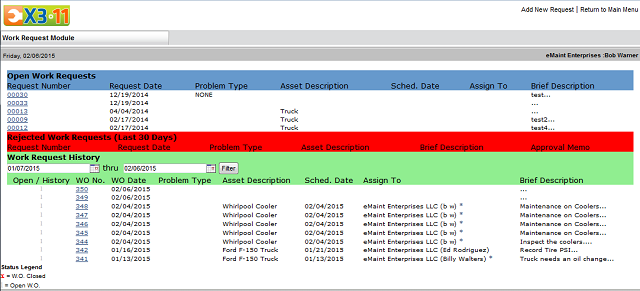
The screen is divided into three sections: Open Work Requests, Rejected Work Requests, and Work Request History. All requests will be displayed in a list under the Open Work Requests section of the screen. The WO No. link allows the requestor to see their completed request. With that said, there are 2 versions of this screen:
Version 1
Version 2 (If you would like to switch to this newer version, please contact support)
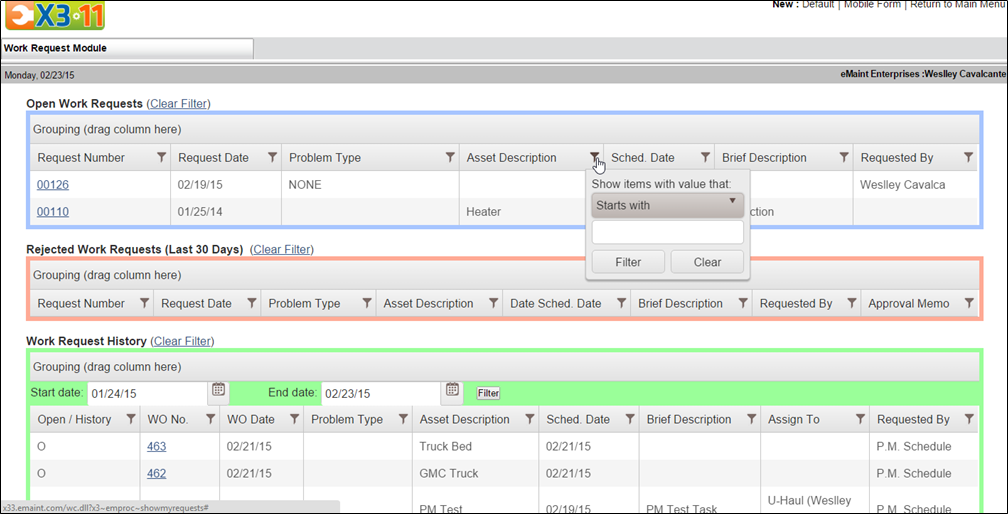
To create a new WO Request you will need to click on the Add New Request link at top right-hand corner of the screen (Or the New button if using Version 2).
If a request is rejected, it will drop into the Rejected Work Requests section. The requestor will be able to see the approval memo which details the reason for the rejection.
If a request is approved (turned into a work order), then it will drop into the Work Request History and will display key information about the work order. The date range on the filter will always span the same amount of time. If you log in today and set the range to a month, it will show you the same range from the same date when you log in a week from now.
If you have standard users who are only allowed to enter work requests, grant them access to the My Requests link on their Navigation tab. This link will take them to the work request function described above.
Request Manager
All work requests are stored in the Request Manager. A user who is allowed to make approval decisions must have the permissions to view the Request Manager and access the requests. They will also need the permissions to add and edit work orders and to approve and reject requests.
When a work request drops into the Request Manager, it will appear with a status of O. This is useful for filtering out non-open requests from the list. In order to make an approval decision, you must access the detail of the request record by clicking the magnifying glass or the link provided in the Request # column.
The detail of the Request form will contain the fields which the system administrator has determined are necessary. Most often they will include the Asset ID and description along with the brief and/or work descriptions. (System Administration training explains exactly how to choose these fields for the form)
There are two approval options for a request: Approve Request and Reject Request. These links are located in the Actions menu, at the top of the page.

Approving Requests
When you click Approve Request, the system will copy the request form's information and place it into a new work order. The work order will then be opened in Edit mode so you can add, edit or remove any information as necessary.
If you indicated an Assign To or Perform For person before saving the work order, you will see a screen which asks if you would like to email the work order to the involved parties. You will also have the opportunity to type in other email addresses in the Other field.
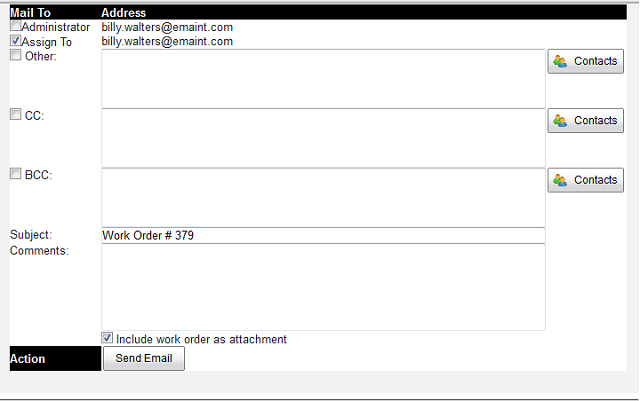
NOTE: The system will automatically check the boxes next to the email addresses which would be notified based on your Work Order Email Settings established in ‘My Account’. You may select or deselect any of the addresses.
Click Send Email to send the work order to the designated individuals or click Go to Work Order on the top right hand corner of the screen to go back to the work order without sending an email.
Approved requests will change its status to A for Approved and the Approval Memo on the request will contain the approval date, time, approver, and the new work order number.
NOTE: Once the request has been turned into a work order, there is no longer a connection between it and the work order. Any changes made to the new work order will not be reflected on the old request. Also, nothing you do to the old request will show on the new work order.
Rejecting Requests
When you click Reject Request from the Actions dropdown, a rejection box will open which allows you to type in a Rejection Reason.
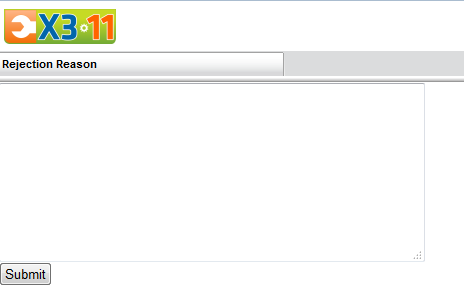
Enter the reason for rejection, if any, and click the Submit button. A screen will display confirming the request has been rejected and a notification was sent to the email in the Requestor Email field. Click the Click Here link to go back to the request screen. The status will be changed to X for Rejected and the Approval Memo on the request form will display the message that was typed in the Rejection Reason box.